Assign System User to WhatsApp Account
This document provides a step-by-step guide on how to assign a system user to a WhatsApp Business Account using the Meta Business Suite. By following these instructions, you can grant a system user the necessary access to perform actions using a System User access token.
Step 1: Access the Meta Business Suite
- Open your web browser and navigate to the Meta Business Suite.
- Log in to your Meta Business Suite account using your credentials.
Step 2: Locate and Access Business Settings
- In the Meta Business Suite, locate the top-left dropdown menu displaying your business account name.
- Click the Settings (gear) icon next to your business account name.
Step 3: Navigate to Business Settings
- After clicking the Settings icon, a dropdown menu will appear.
- Click on Business settings from the dropdown menu.
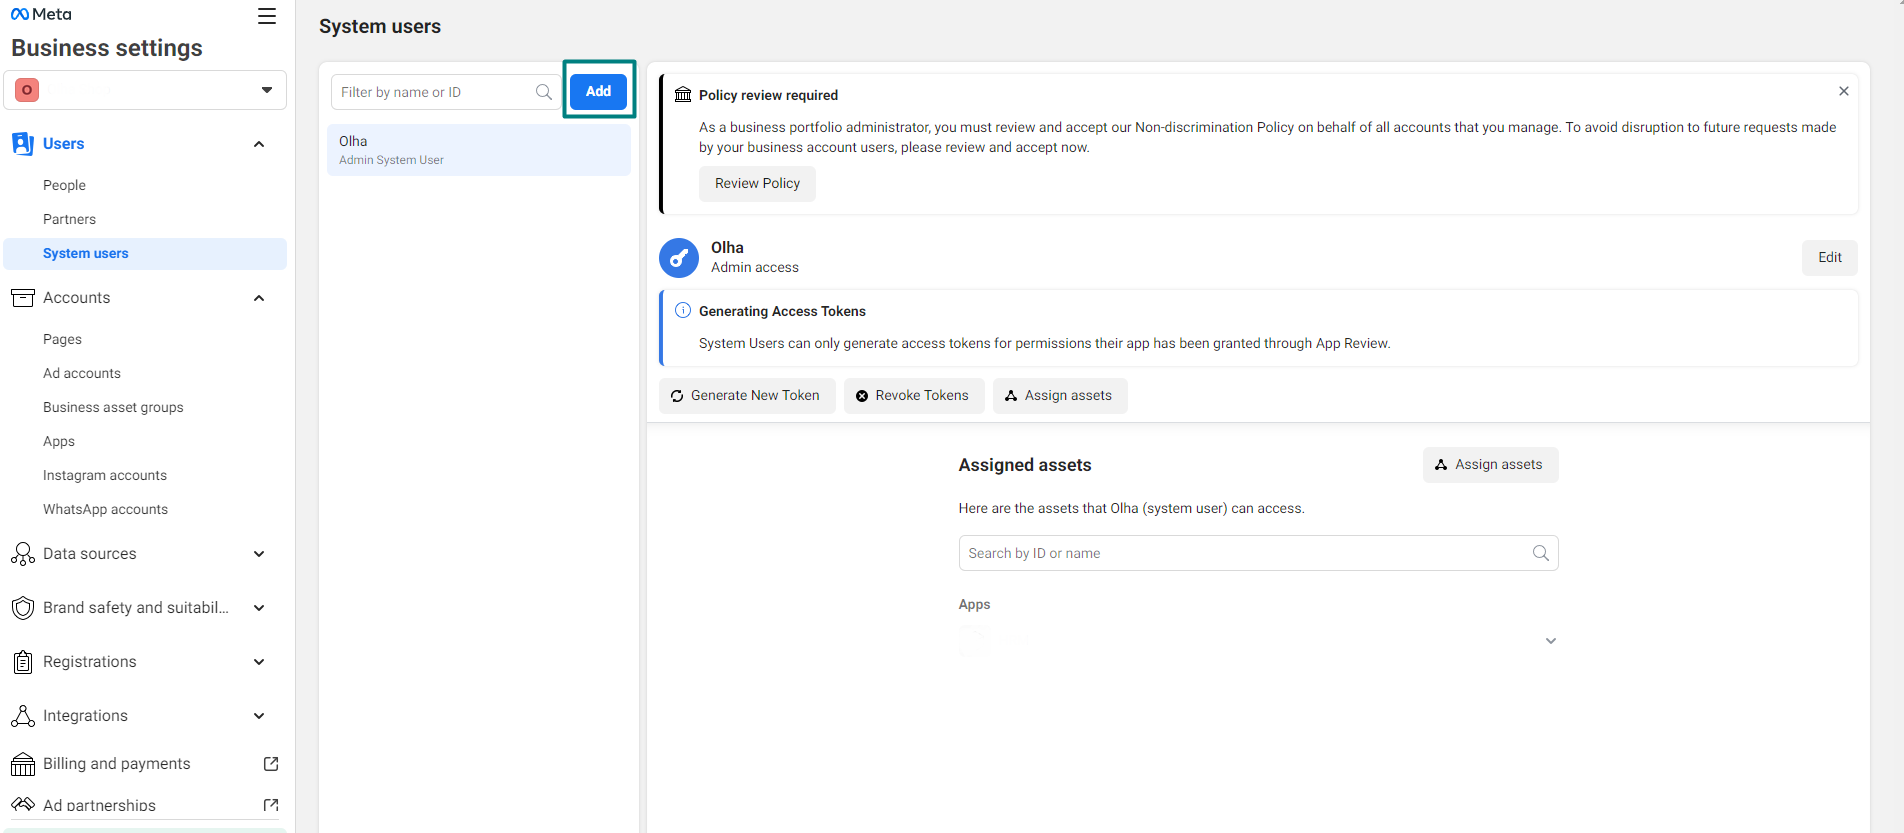
Step 4: Create a System User
Navigate to the Users section in the sidebar.
Click on System Users, then click the Add button to add a new user.
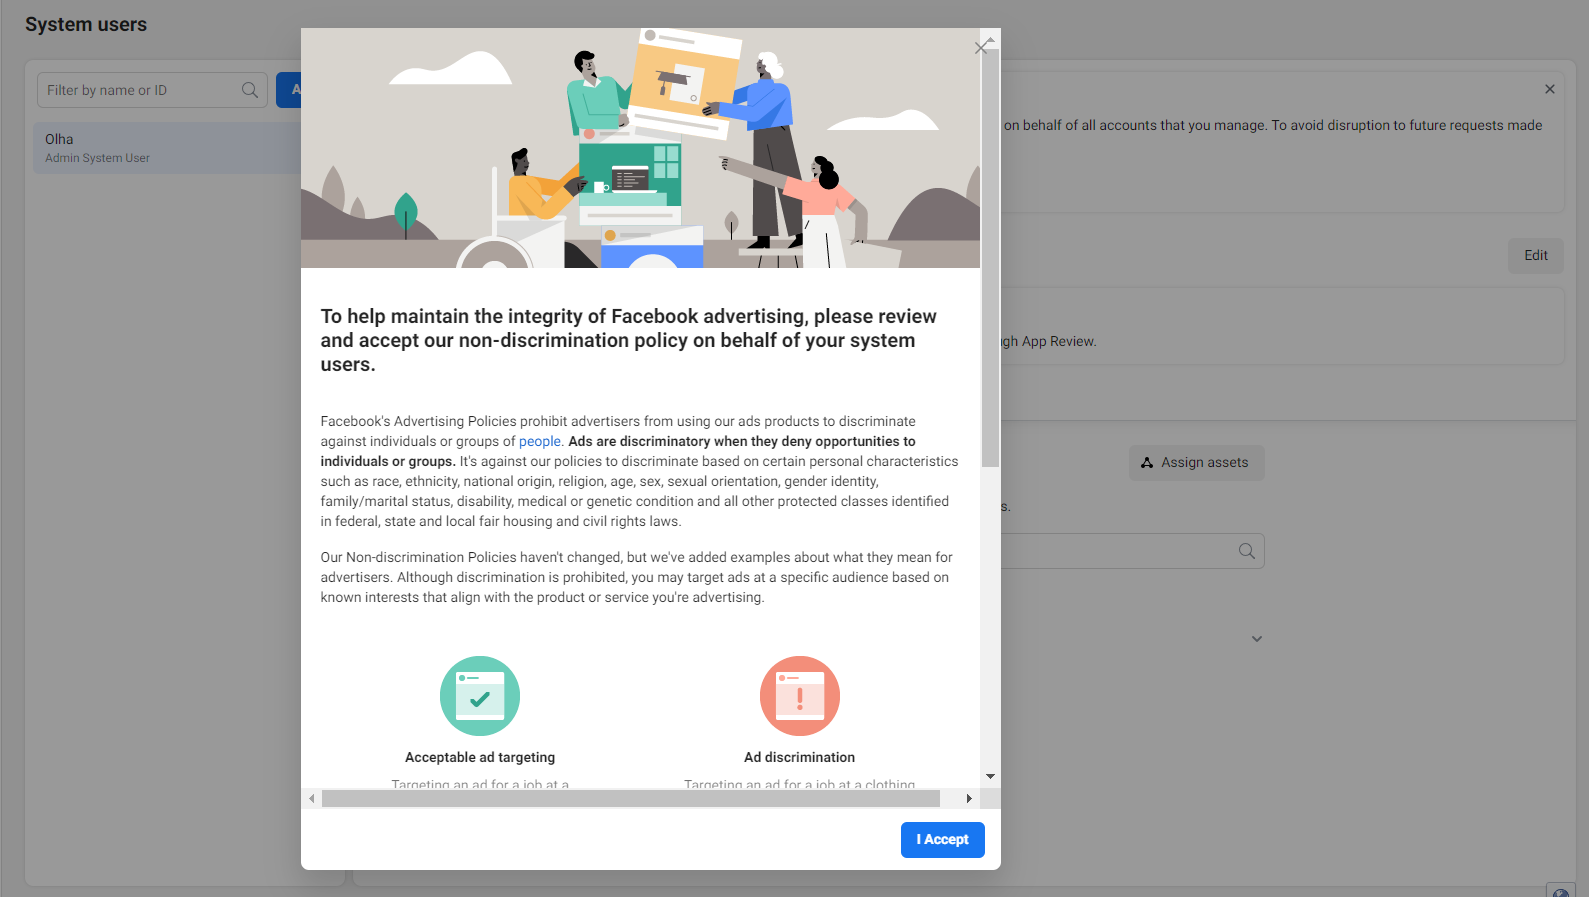
Accept the policy to begin adding a user.
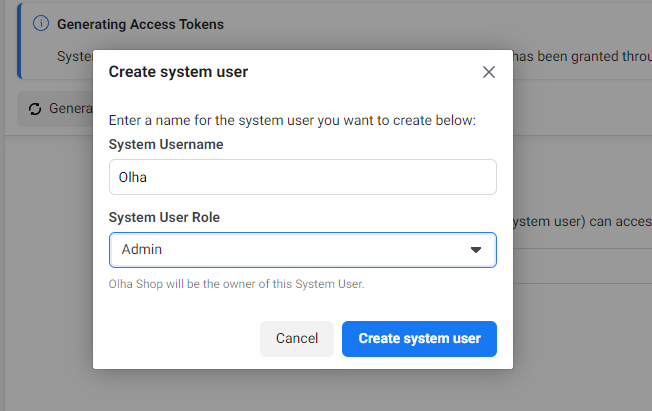
In the Create system user pop-up, provide a name (e.g., BP-WhatsApp) and set the user role as Admin.
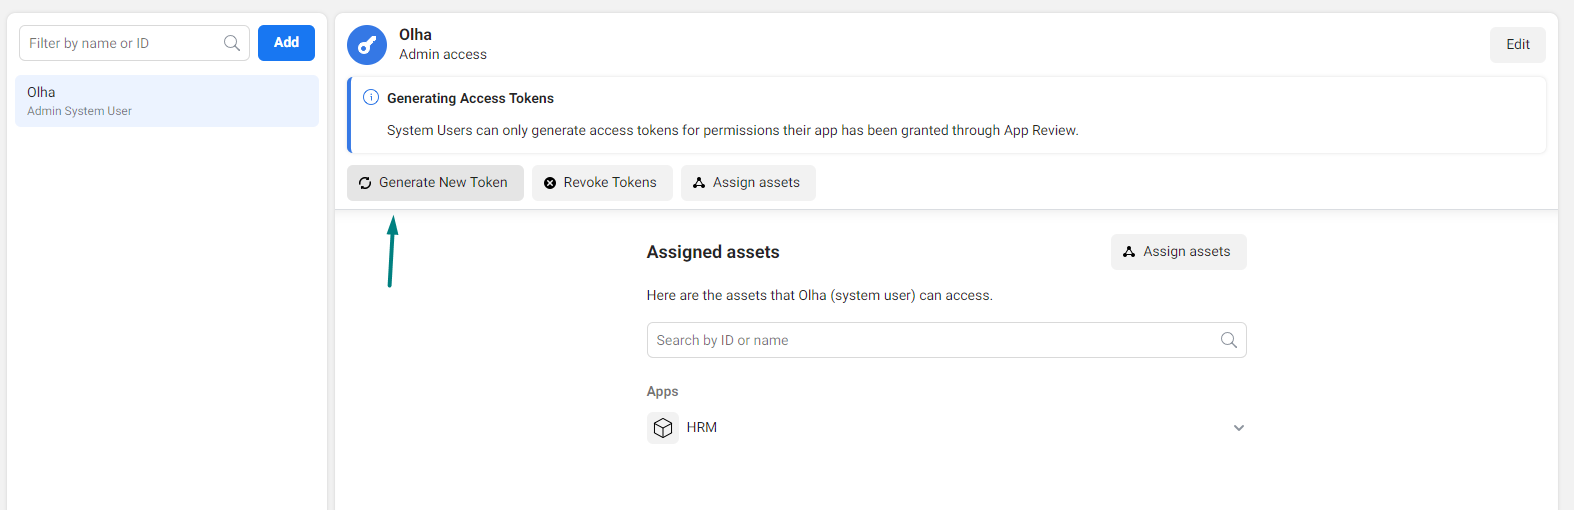
Once the system user is added, click on Generate new token.
In the Generate Token pop-up, select the app you created earlier and choose the token expiration as Never.
Assign the following permissions:
business_managementcatalog_managementwhatsapp_business_messagingwhatsapp_business_management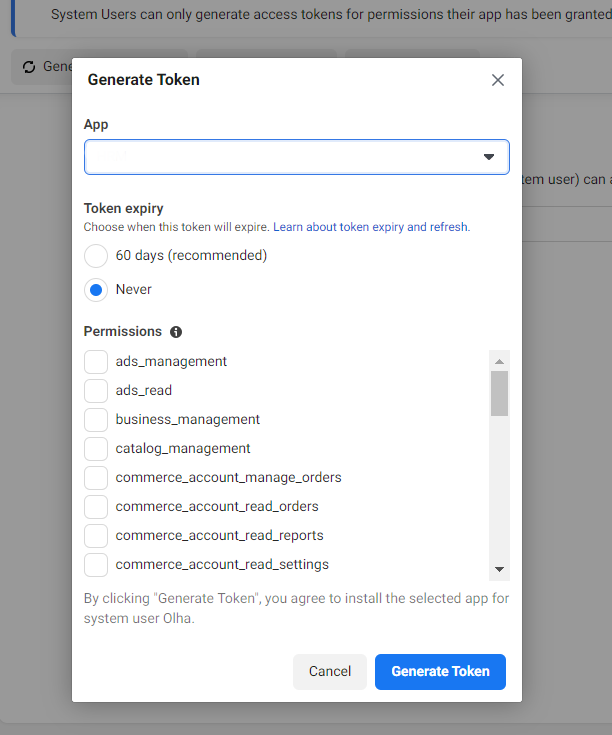
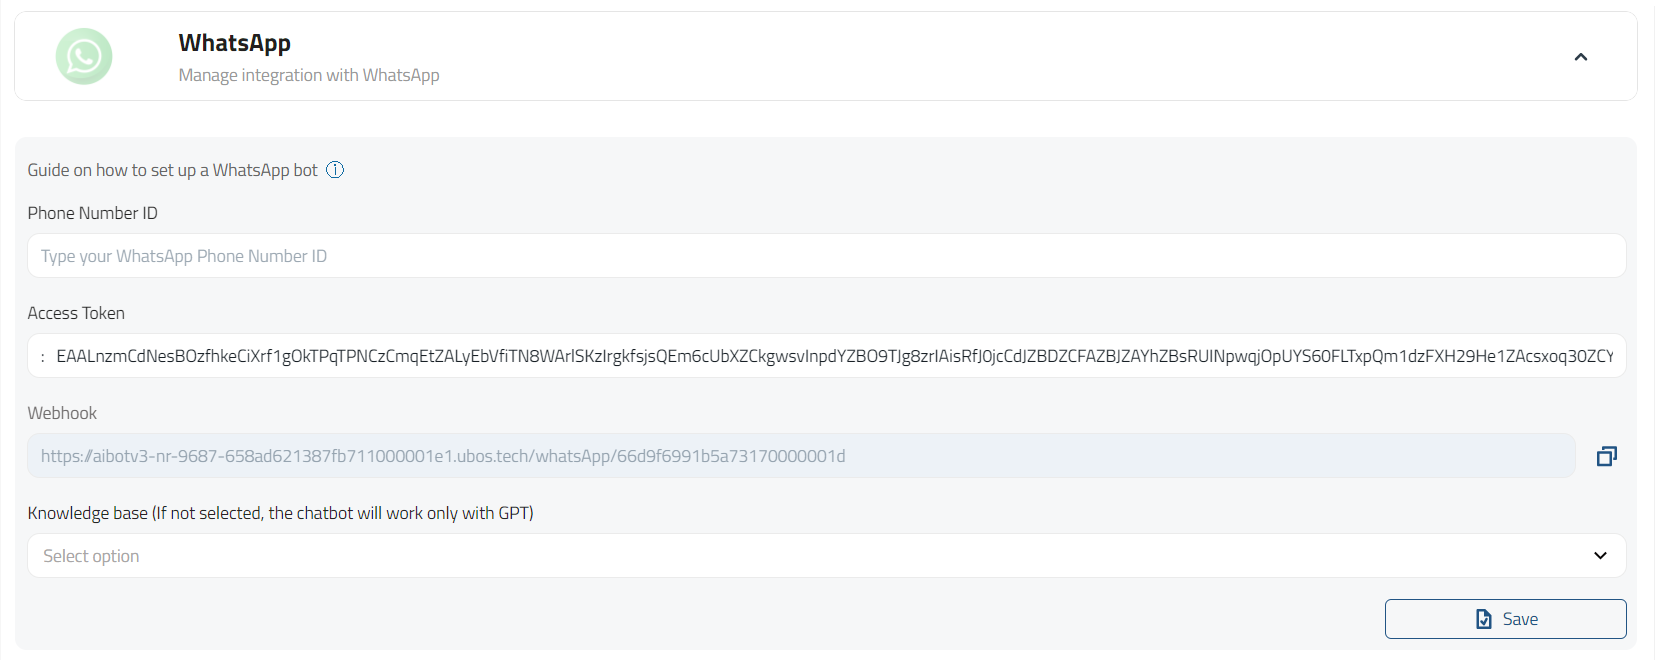
Click Generate Token, then copy and save the token securely. Save token on Bot Setup page.
Step 5: Access WhatsApp Business Accounts
- In the Business settings page, navigate to the Accounts section.
- Click on WhatsApp Accounts.
Step 6: Assign a System User
On the WhatsApp Accounts page, click the gray Add People button.
A list of available system users will appear.

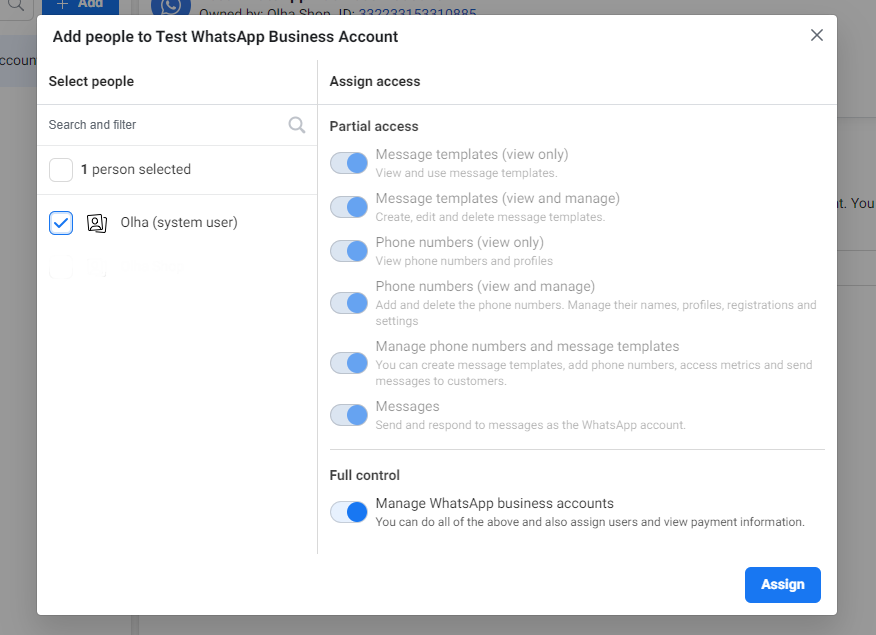
Step 7: Assign Full Control
Select the appropriate system user from the list.
Assign Full control permissions to the selected system user over the WhatsApp Business Account.
Completion
Congratulations! You have successfully granted control of a WhatsApp Business Account to a system user. The system user can now access endpoints requiring control of the WhatsApp Business Account using a System User access token.
Please ensure to grant access only to trusted and authorized system users. If you encounter any difficulties or have further questions regarding WhatsApp Business Account control, refer to the official Meta documentation or contact their support team for assistance.