UI Editor
Let's start with learning about the first tool in the UBOS ecosystem that will help us create dashboards, admin panels, CRUD applications, and other types of web applications quickly and almost without programming. The UI editor is built based on the open-source resource Appsmith. Here you can learn more about it.
How to create UI Editor.
After creating a service, wait until a green checkmark appears next to it in the UI Editors list on the sidebar. Once the checkmark appears, open the service by clicking on its name or the corresponding button. This will take you to the UI Editor, where you can start customizing and developing the frontend part of your service.
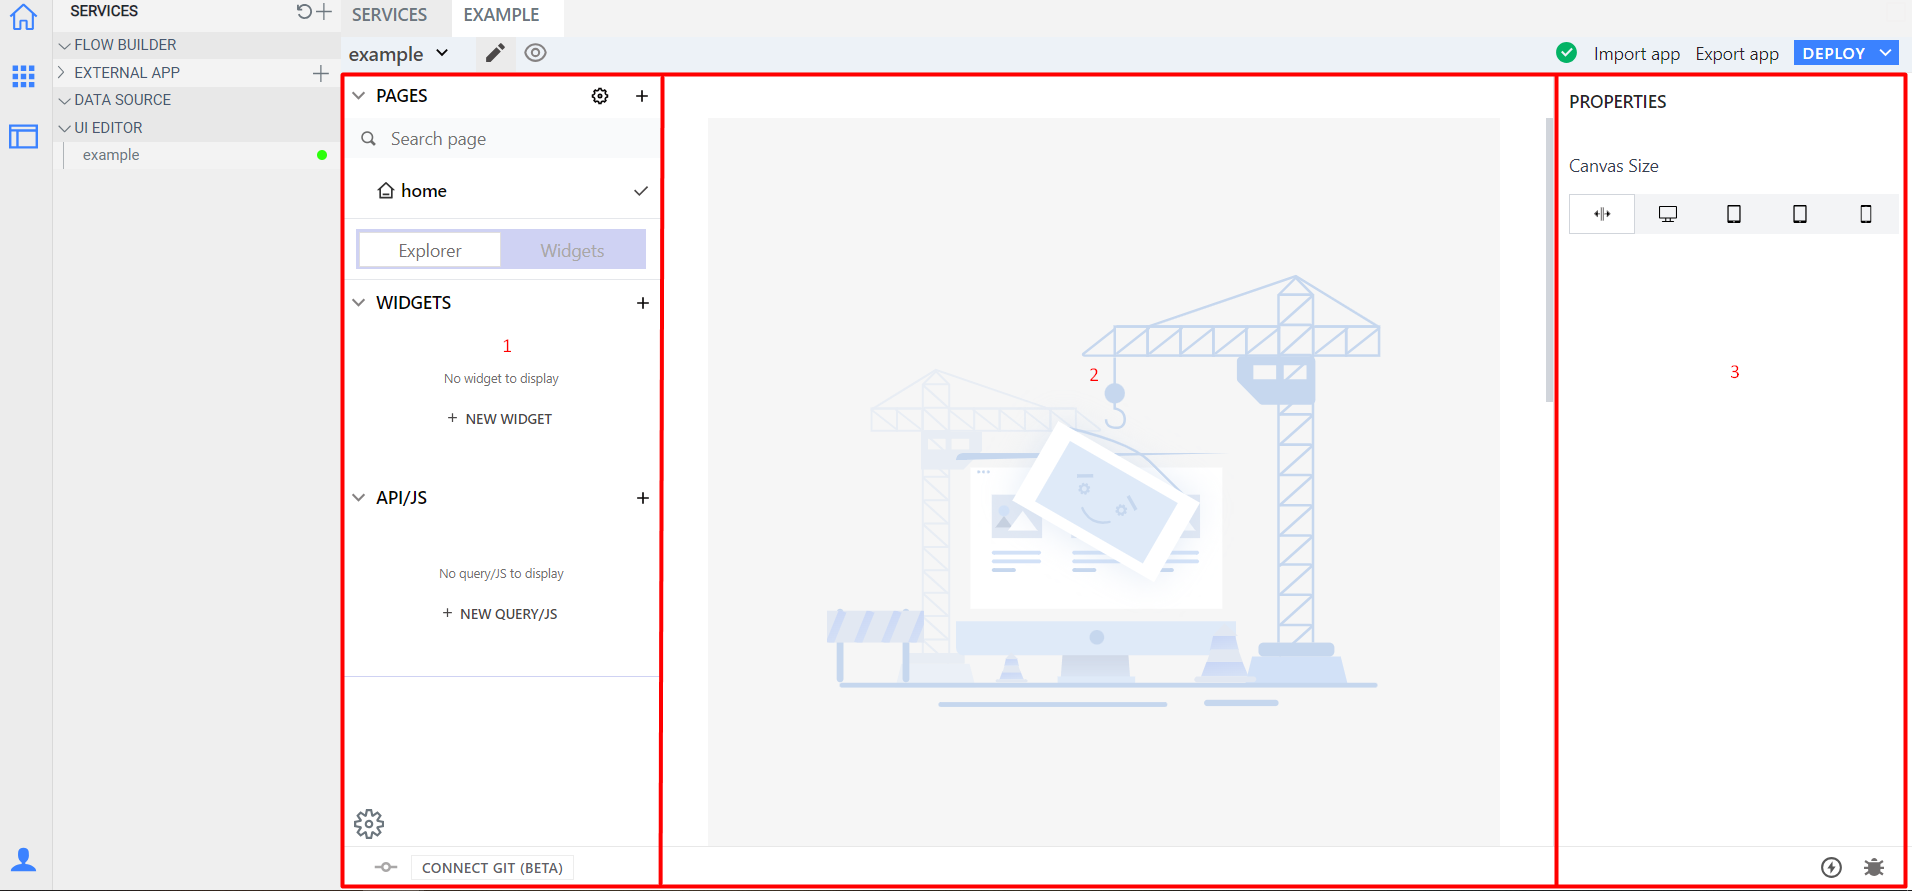
The UI editor has its own layout, which consists of 3 main windows:
Sidebar - Helps create and organize pages, user interface widgets, and APIs for working with data.
Page Editor - This is the canvas where you can drag and drop user interface widgets from the widget panel and design how your page will look. Each page has its own canvas.
Widget Settings - Displays the properties of the selected user interface widget on the canvas.
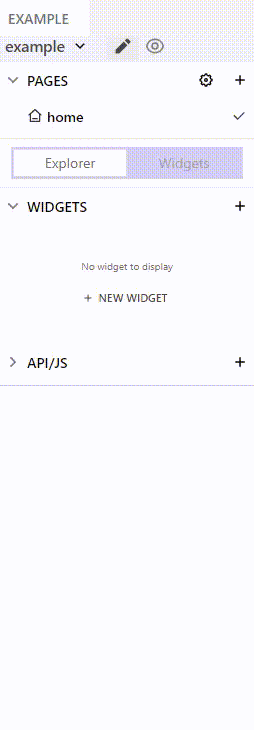
Widgets Panel
The widget panel can be opened by clicking the "+" button on the current page. After opening the panel, you will see all the available widgets that can be dragged onto the page canvas to create the design of your page.
Adding UI Widgets
Each widget from the widget panel can be dragged onto the page canvas to create the user interface. After placing a widget on the page canvas, you can customize it to align with the design of your page and the data you want to display.

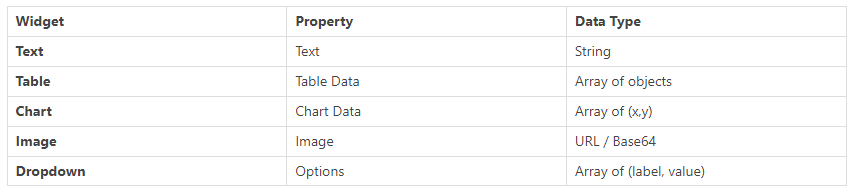
Widget Settings
Each widget has a list of properties that can be customized in the WIDGET SETTINGS window located on the right side of the UI editor. To open the widget settings window, simply click on the icon at the top of the widget. The widget properties can be used to modify the style, data, or behavior of the widget.
Deploying UI
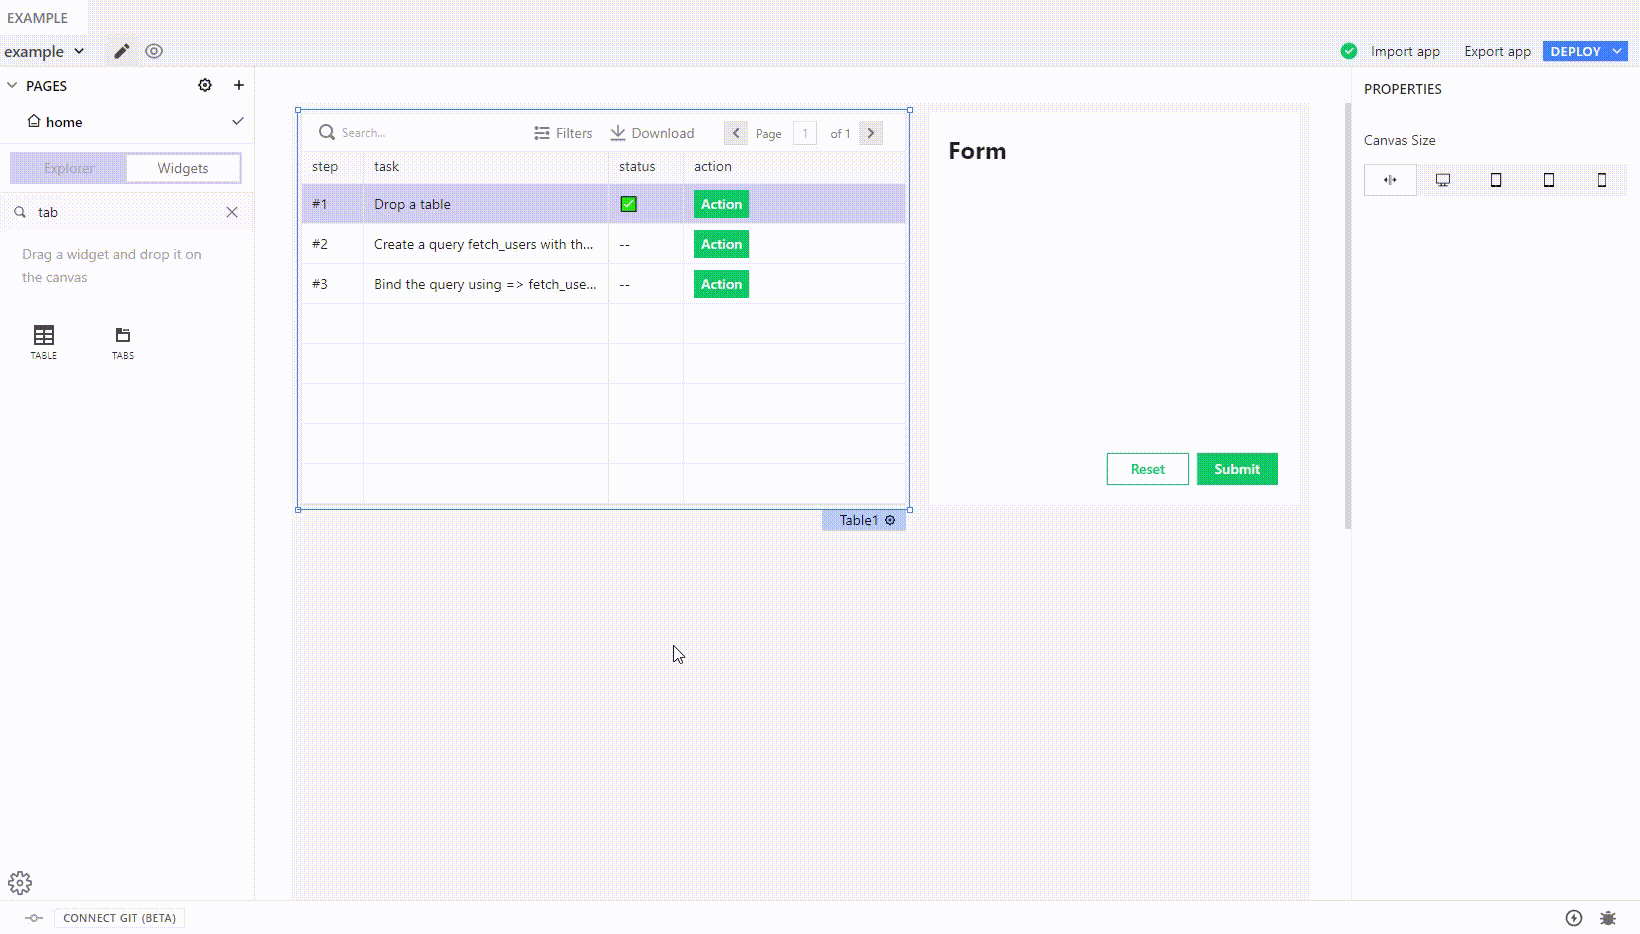
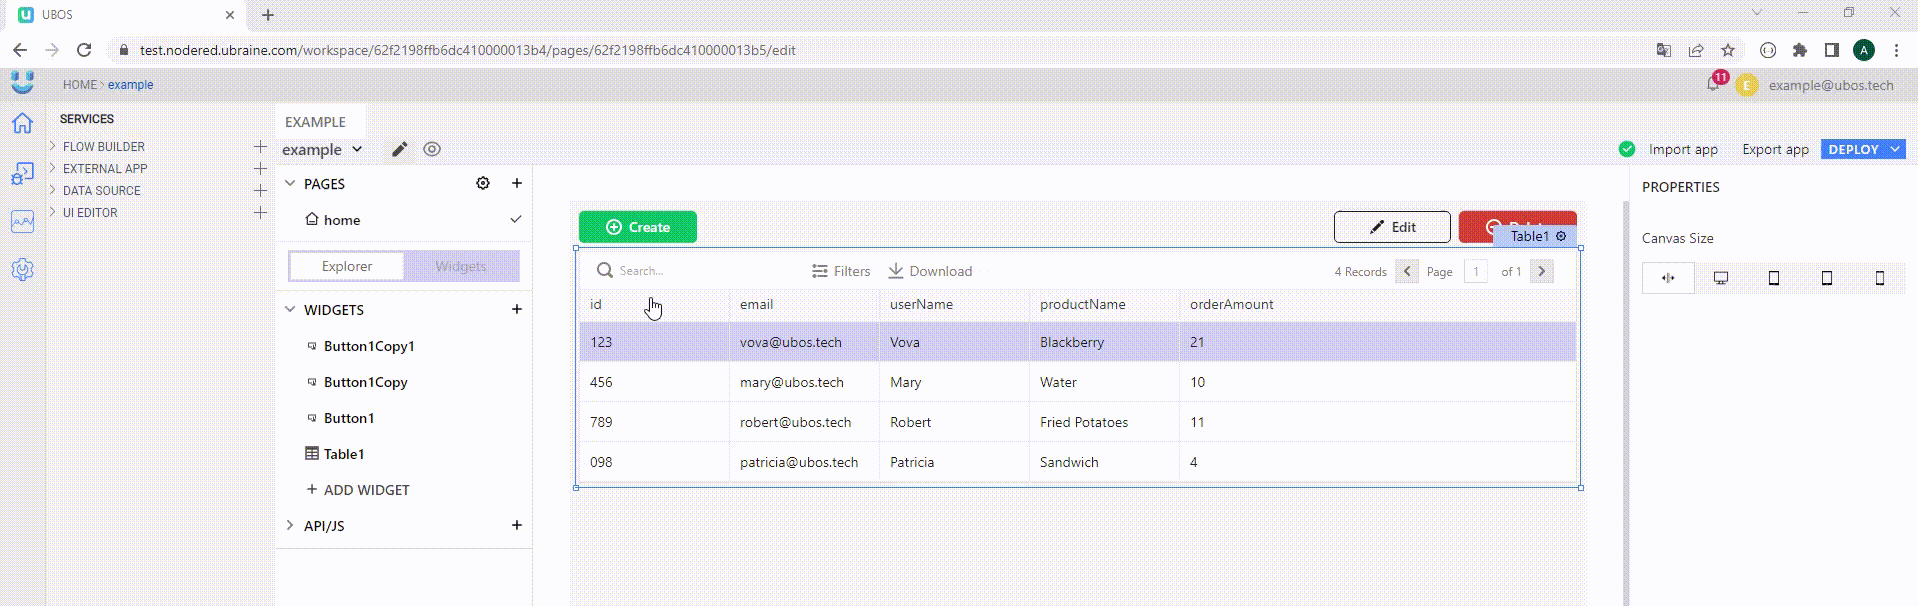
Let's create a sample page consisting of 3 button widgets and 1 table widget. Try configuring the widgets on the page according to the example below:
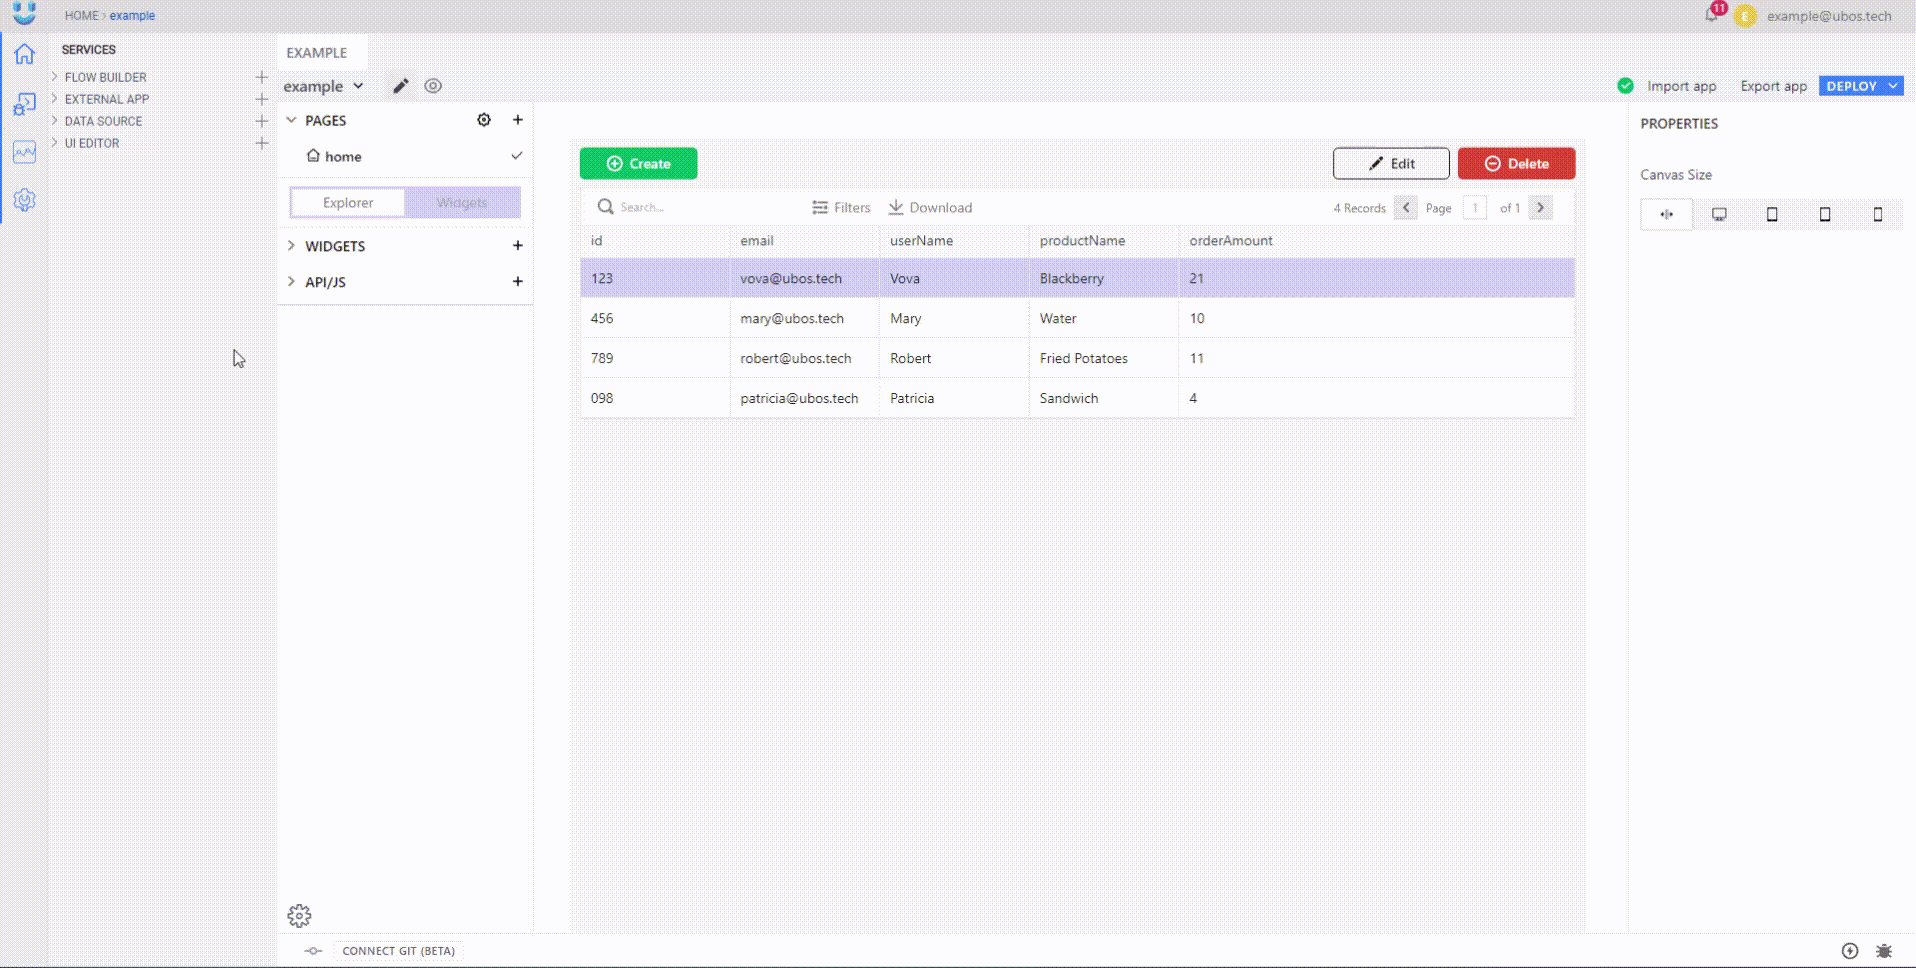
 Once the page is ready, it needs to be deployed to view it from an end-user perspective. To do this, click the DEPLOY button on the top panel. In the modal window that appears, click View Application, and a new tab will open in your browser with the URL for previewing your application.
Working with API
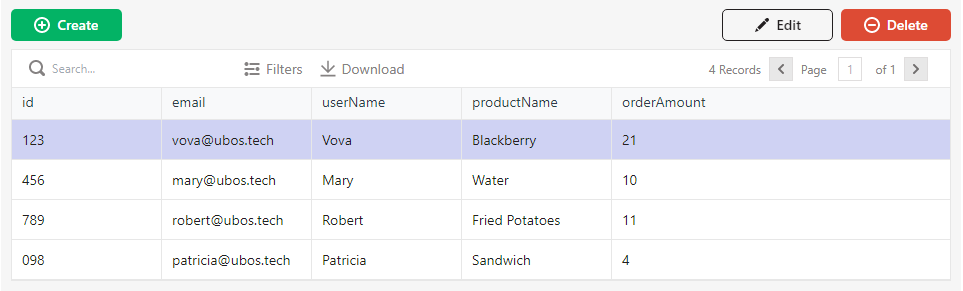
To make your program dynamic, you will need specific data, which you can obtain by creating an API. You can visualize any data retrieved from the API call using the available widgets.
 You can create a new API by clicking the "+" button in the side menu on the current page. After clicking, you should see the API panel where you can edit the API properties.
APIs Panel
Here you can modify your API using the REST interface. The API supports all REST HTTP methods: GET, POST, PUT, DELETE, PATCH. You can configure header values, body fields, and parameters.
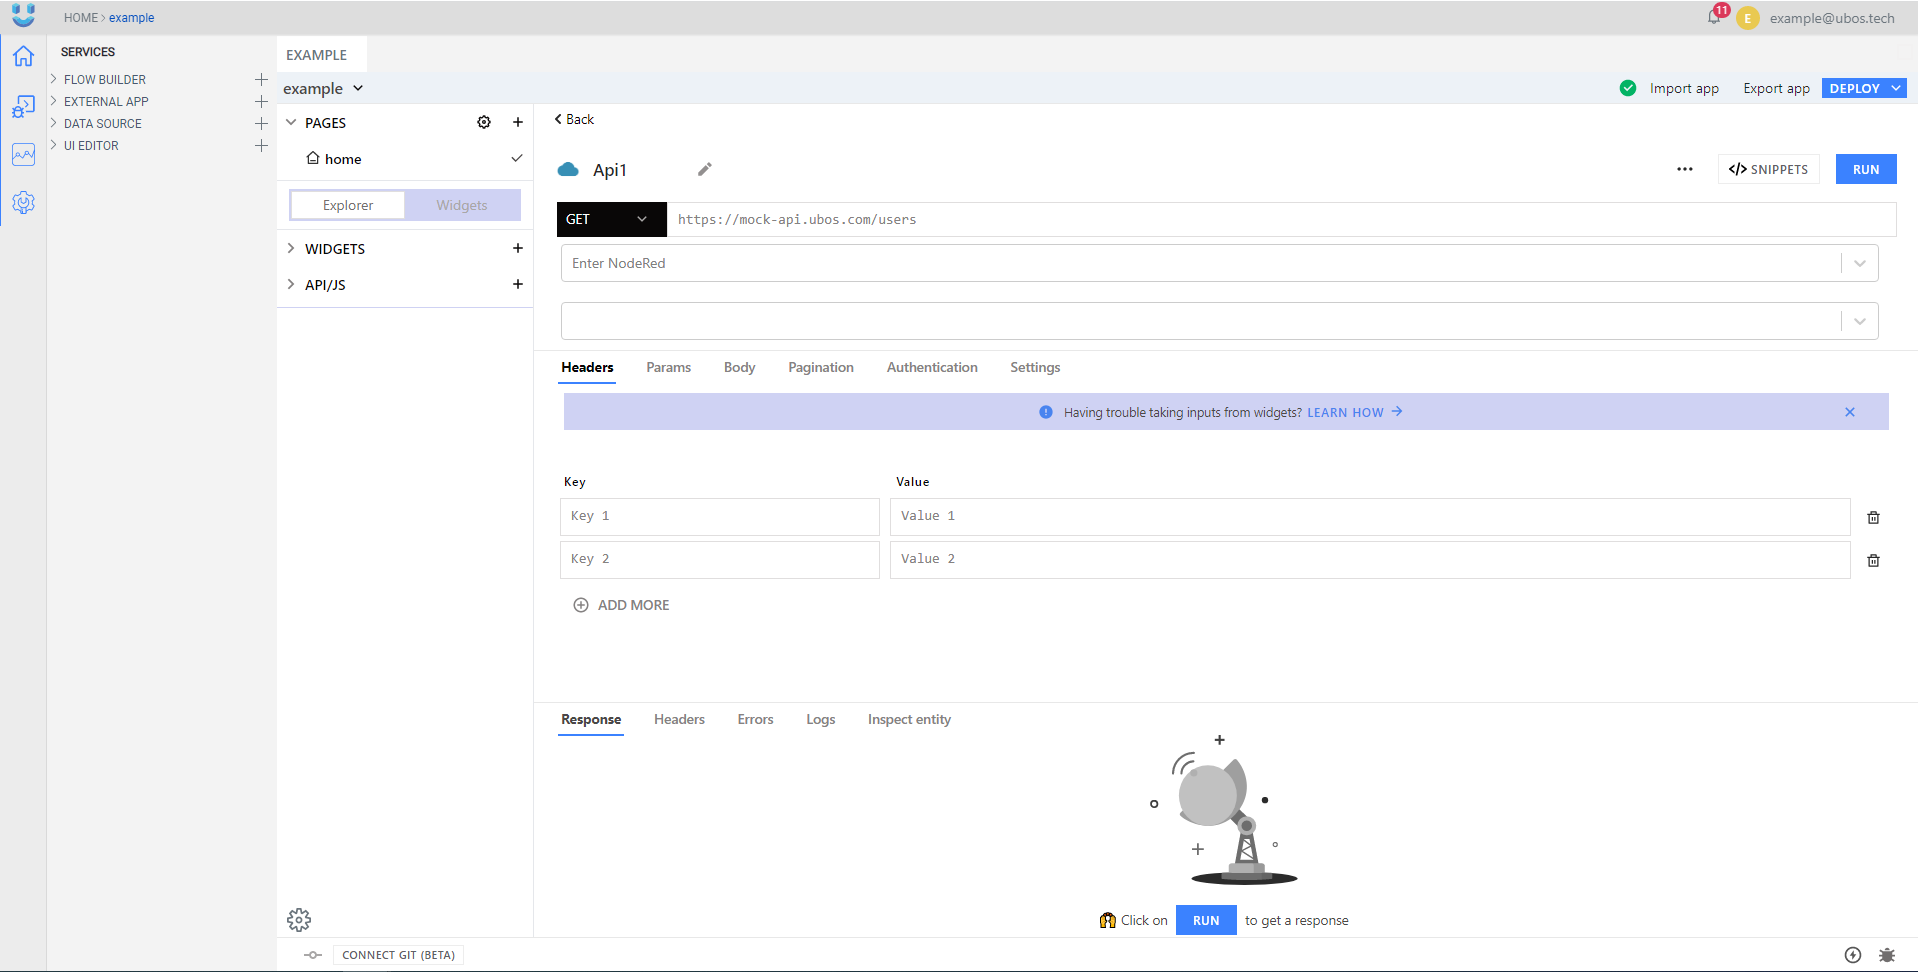
When you're in the process of creating an API, the system will dynamically present you with options to select Node-RED nodes that are currently created within your workspace, as well as endpoints derived from the chosen Node-RED nodes
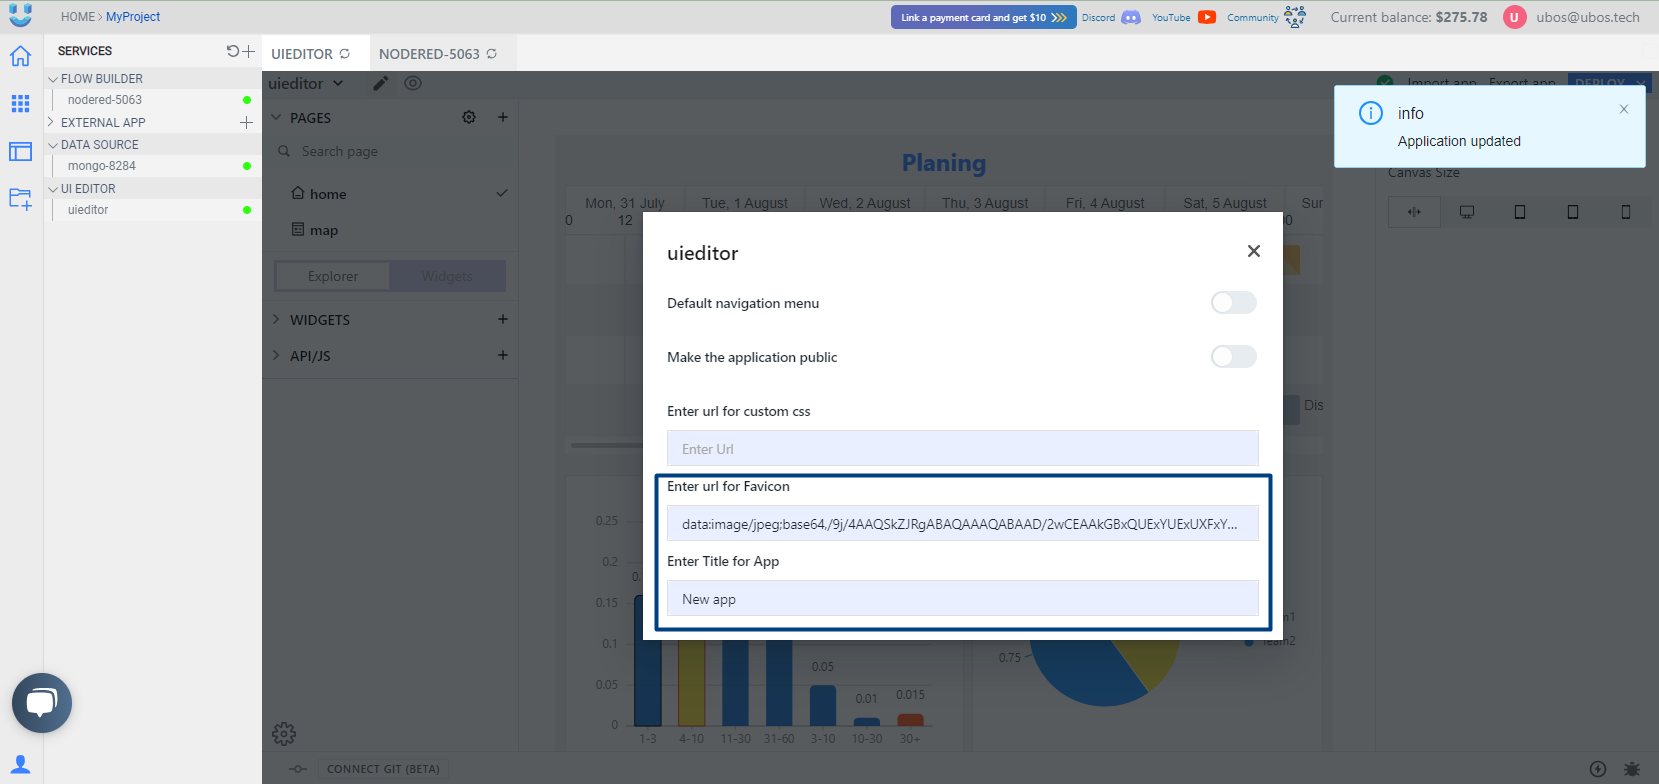
UI settings
Customize and personalize your application's user interface with the following options:
Private or Public Application
You have the flexibility to adjust your application's access to suit your specific needs. This means you can determine whether your application should be accessible by anyone ('public') or restricted to specific individuals ('private').
Public Access: If you choose to make your application 'public,' it will be accessible to users at any time, without any access restrictions. This is a suitable option when you want your application to be available to a wide audience or for public use cases.
Private Access: On the other hand, if you set your application to 'private,' it will only be accessible when you are logged into your platform account. This level of access control ensures that the application is only available to authorized individuals on your account, typically for more confidential or restricted use cases. It provides an additional layer of security and control over who can interact with your application.
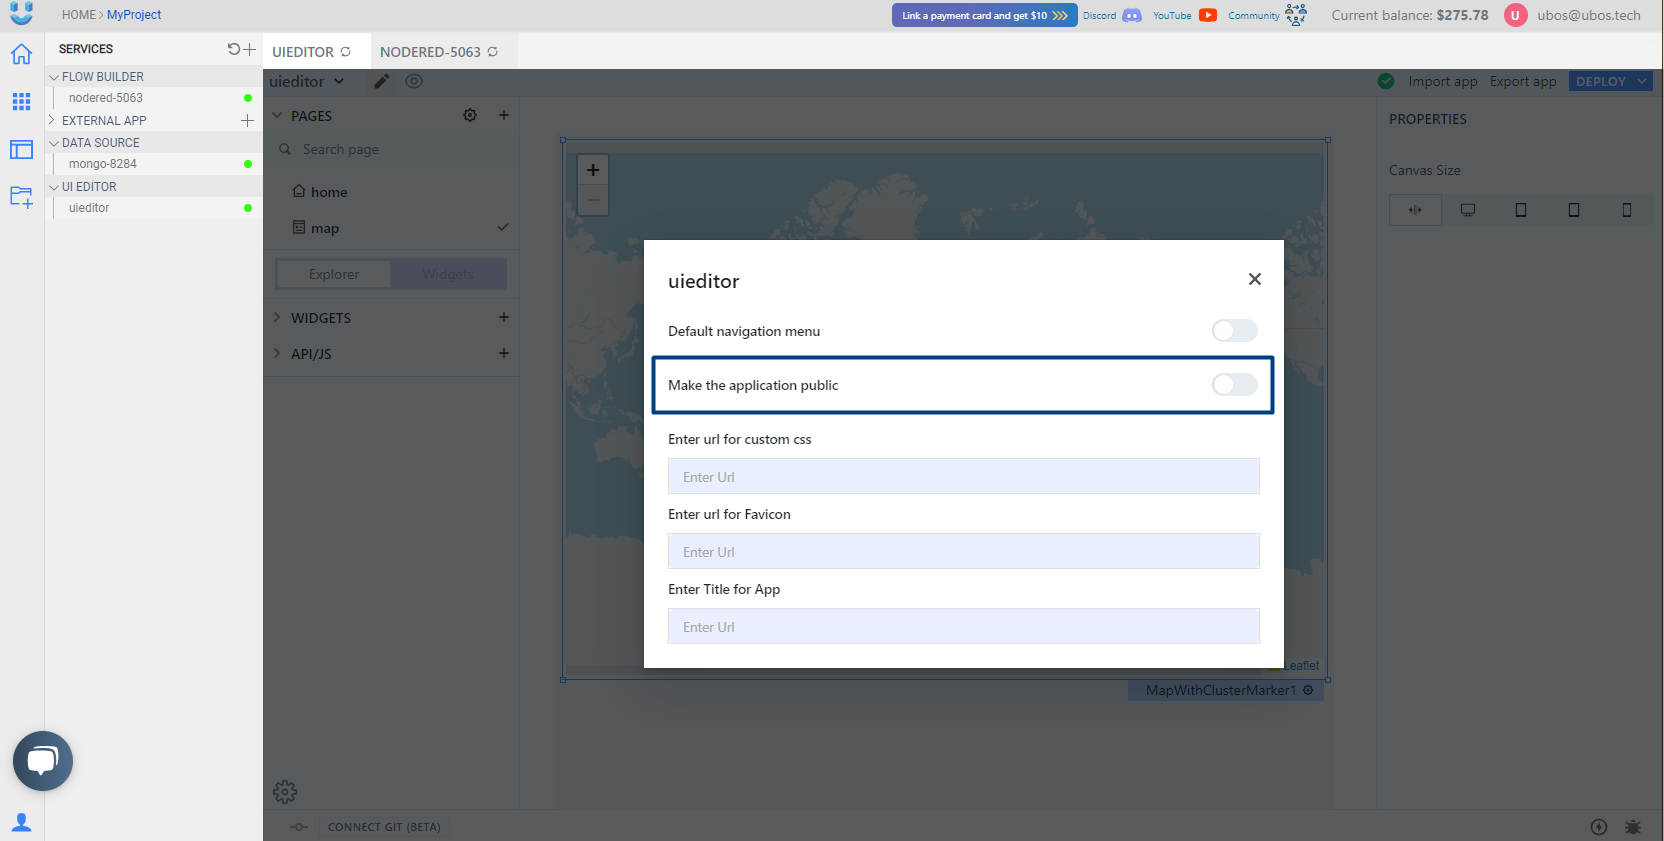
Adding Navigation Menu
To enhance user navigation in your UI, consider implementing an auto-generated default navigation menu for the deployed version. This feature will streamline user interactions and provide a seamless browsing experience.
Adding Custom CSS
You have the flexibility to style your UI to align with your design preferences by using custom CSS in Node-RED. Within your Node-RED flow, you can write CSS and link it to a Node-RED endpoint for seamless integration. Simply apply the desired CSS class within your UI to achieve the desired styling, allowing you to create a visually appealing and customized user experience.
Adding Favicon and Title
You can enhance your UI's branding by setting a favicon and custom title for your application.
![]()