PostgreSQL
Creating PostgreSQL
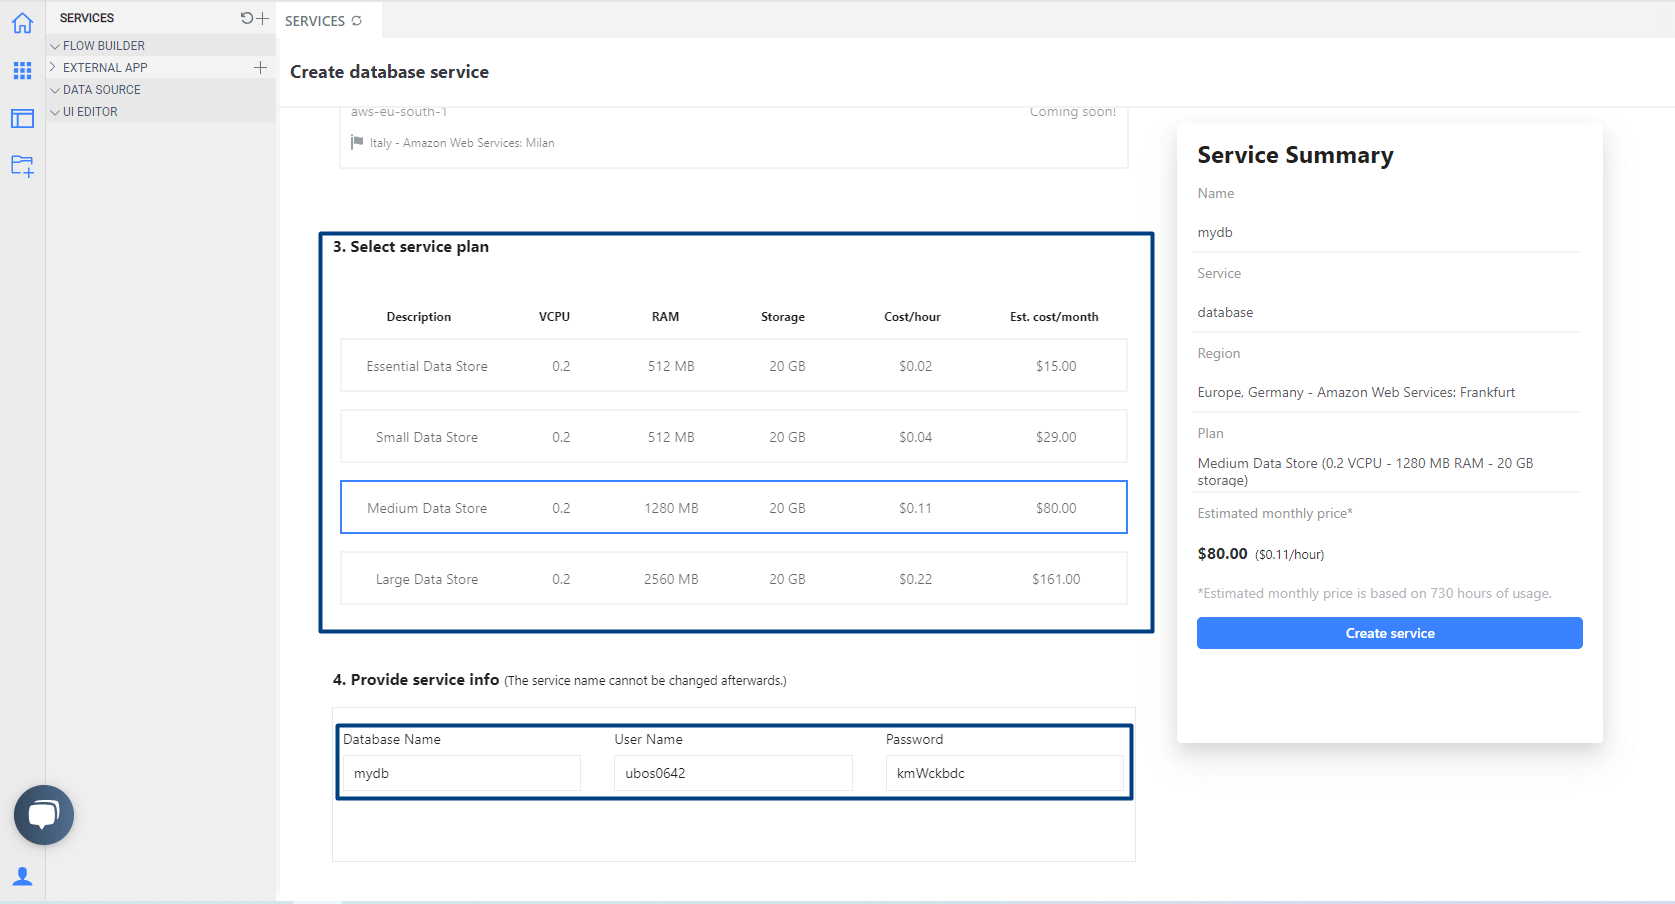
To begin, select a plan and provide a name, username, and password for your new PostgreSQL database.
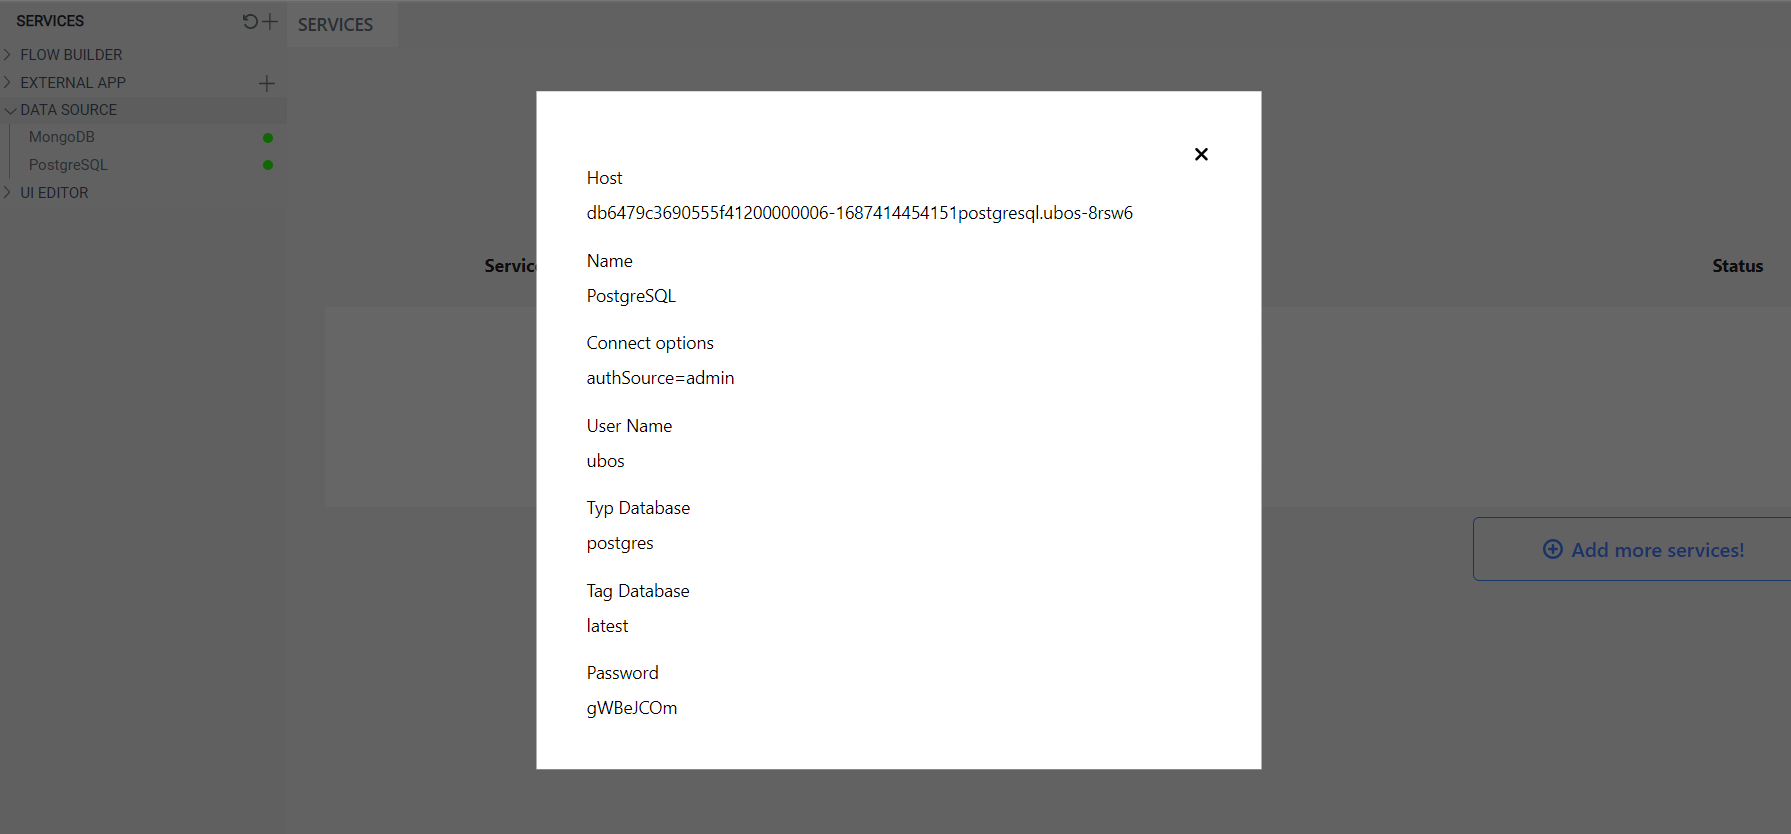
Once a green indicator appears in the left sidebar next to the created database, open the modal window where you can configure the new database.
Connecting PostgreSQL to Node-RED
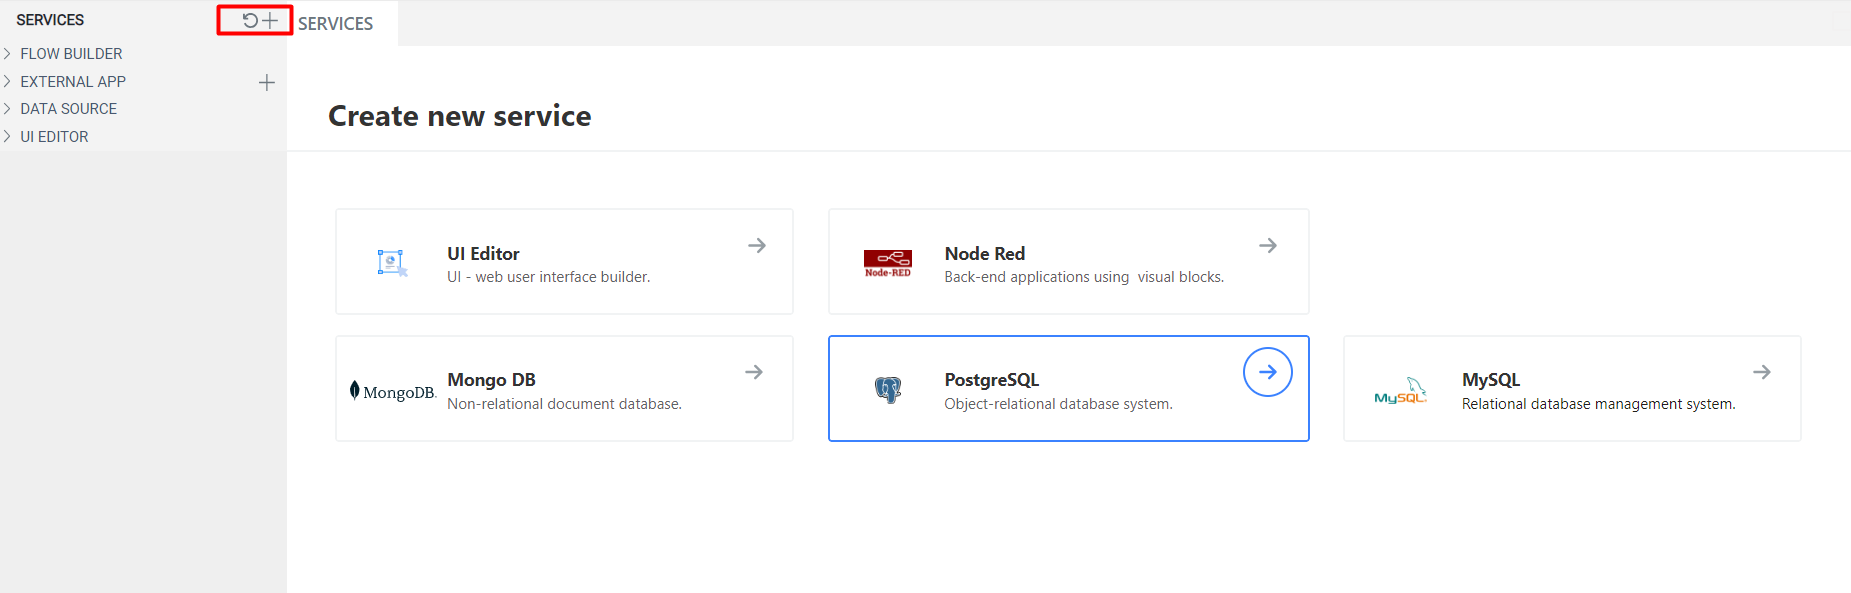
To use the PostgreSQL database in the Node-RED environment, you need to add nodes for working with it. Follow these steps:
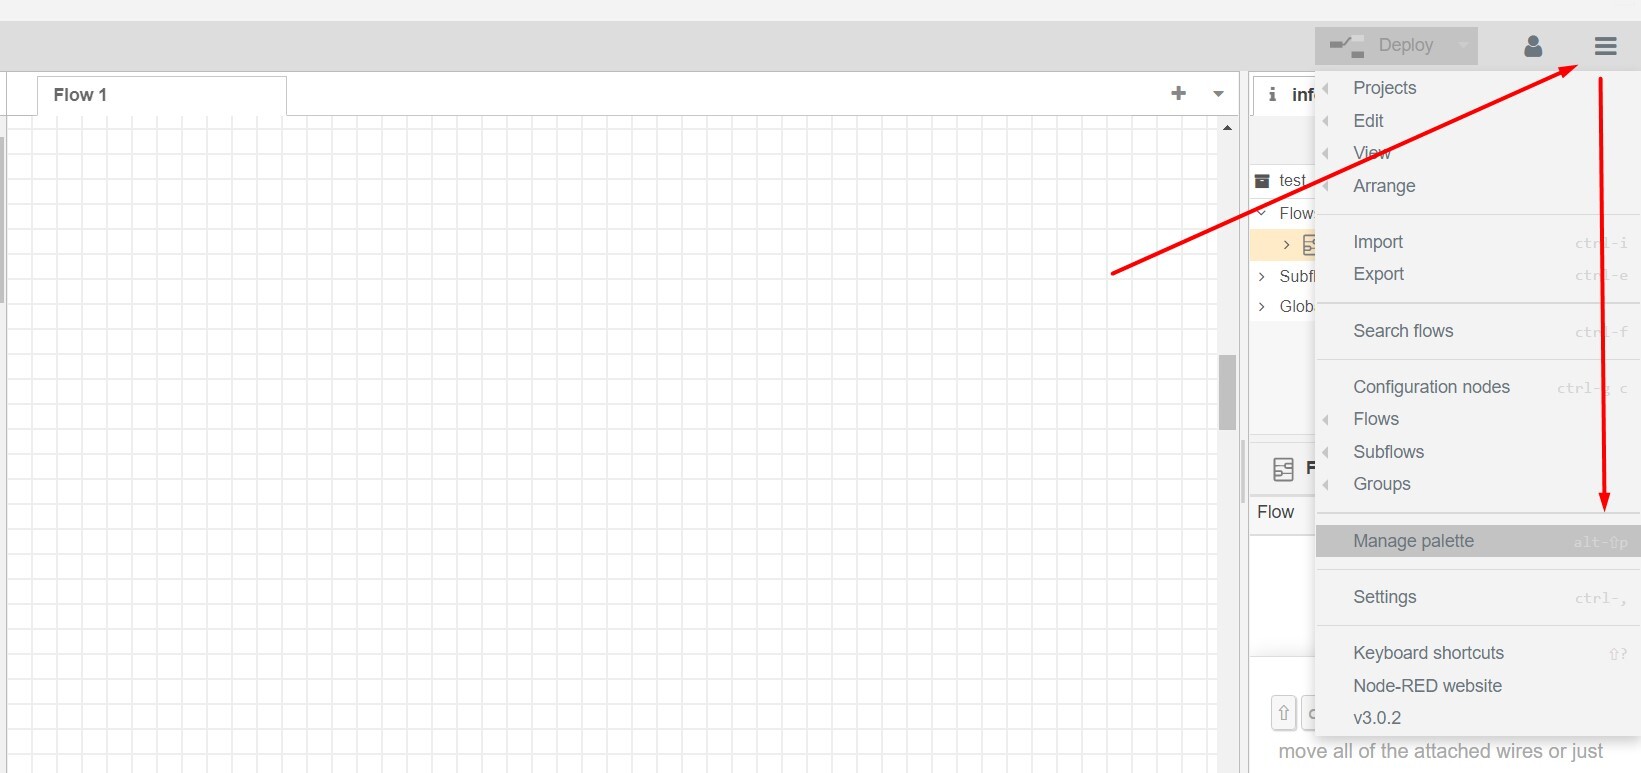
- Open the Node-RED interface or editor.
- Click on the menu icon (represented by three horizontal lines) to expand the menu options.
- Select "Manage Palette" from the menu.
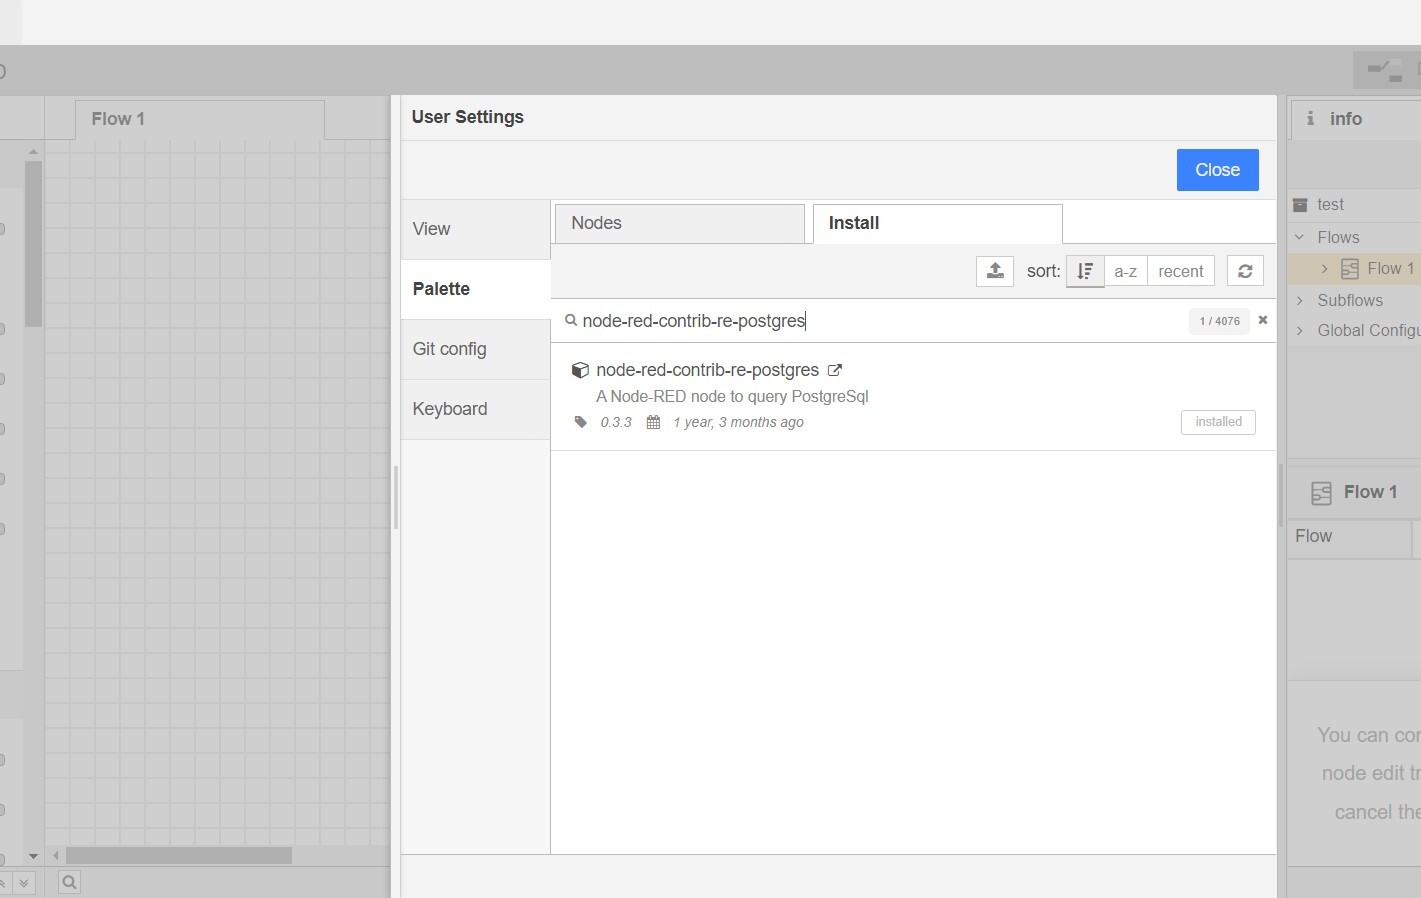
- In the Manage Palette window, click on the "Install" tab.
- Search for "node-red-contrib-re-postgres" in the search bar.
- Once you find the "node-red-contrib-re-postgres" package, click the "Install" button next to it.
- Wait for the installation process to complete.
- After the installation is finished, you can start using the PostgreSQL nodes in your Node-RED flows.
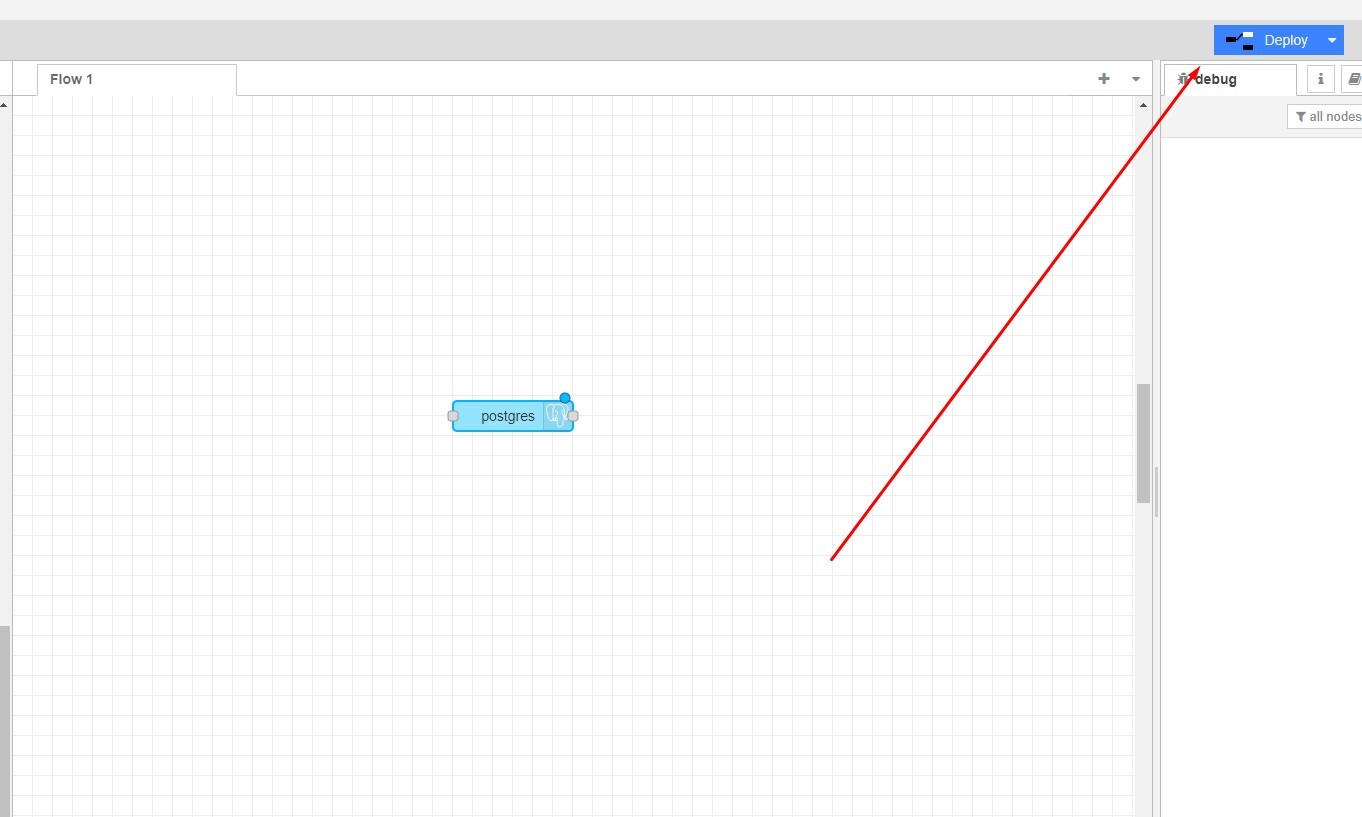
After that, we will have a node with the name postgres.
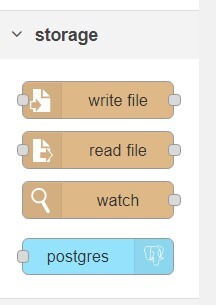
Move the postgres node to the workspace, double-click on the node twice, and edit it.
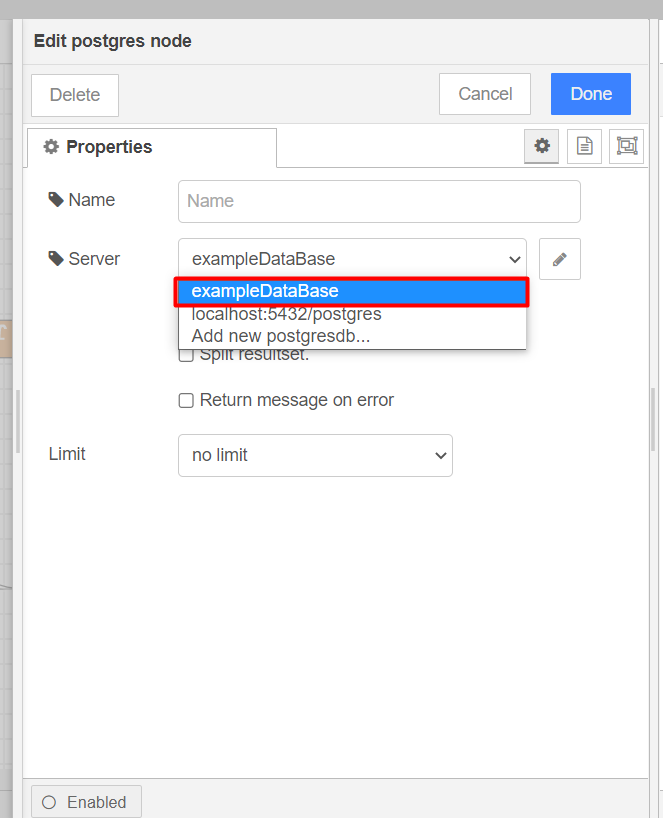
In the postgres node, you need to enter the information about the database you created.
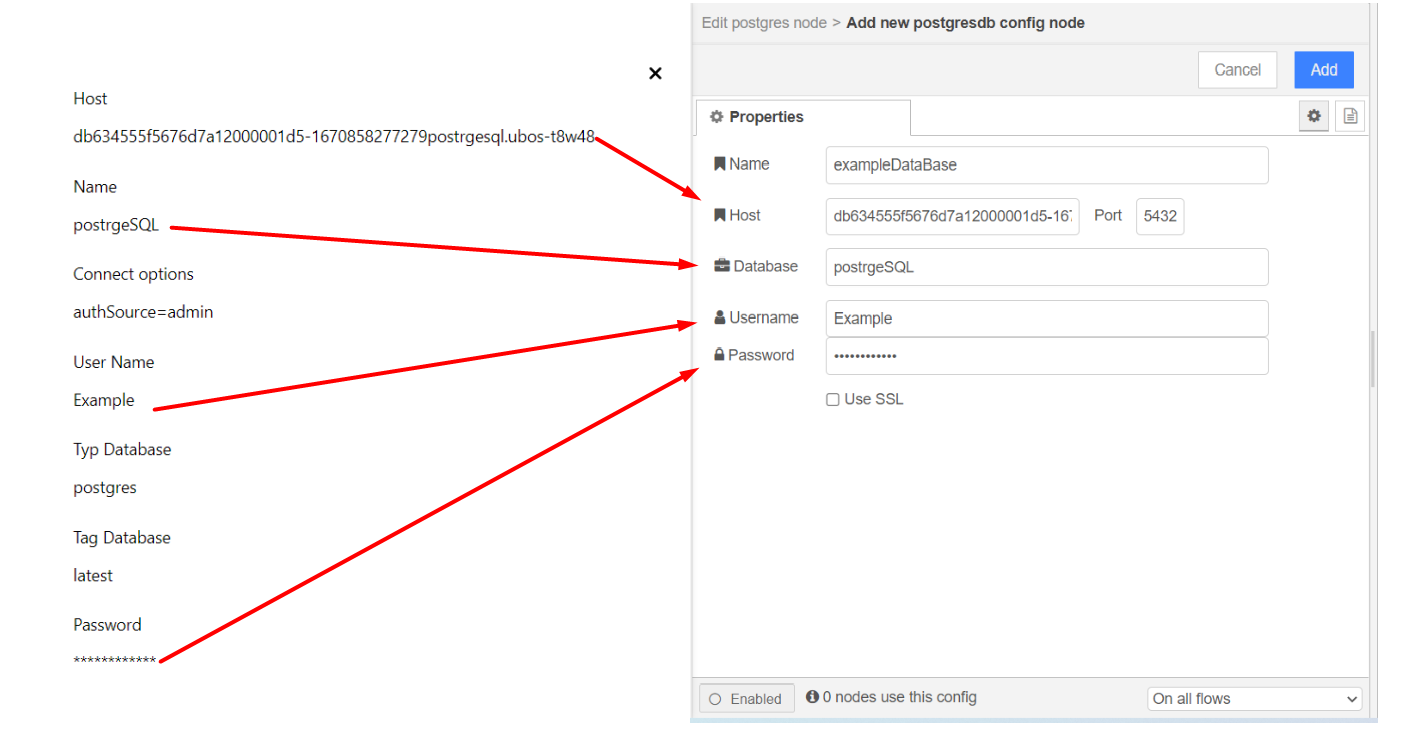
Host: Enter the host address. Port: Leave it unchanged. Database: Enter the name of the database. Username: Enter the username. Password: Enter the password. Name: This is the configuration name, you can enter any desired name.
After filling in the information, click the Add button.
Choose the name of our configuration (as entered in the previous step). Select Receive query output, and you can fill in the Name field, which will be the name displayed for the node on the workspace.
Click "Deploy" to save the node settings.