Creating an Opik Service
Here is a step-by-step guide to creating a new service on the UBOS Platform.
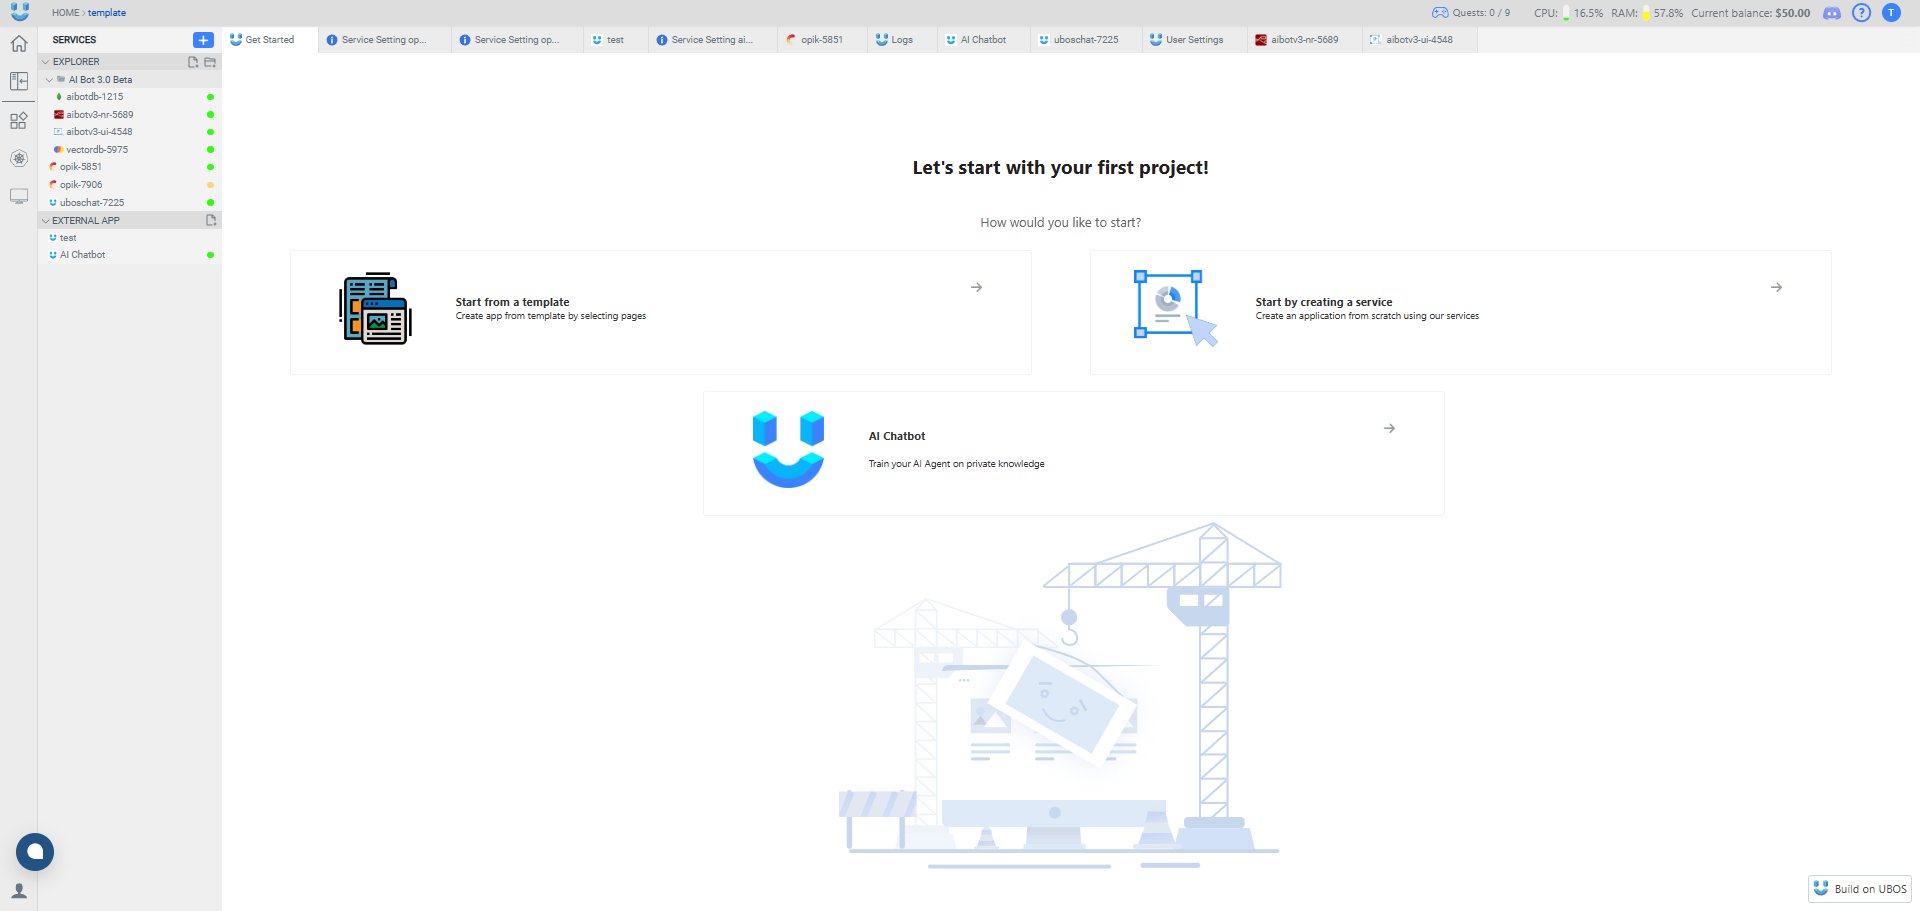
Step 1: Navigate to the UBOS Platform
Go to the following web address: https://platform.ubos.tech/
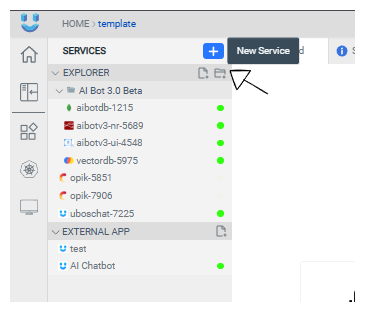
Step 2: Click the "New Service" icon
To begin, click on the "New Service" icon in the user interface.
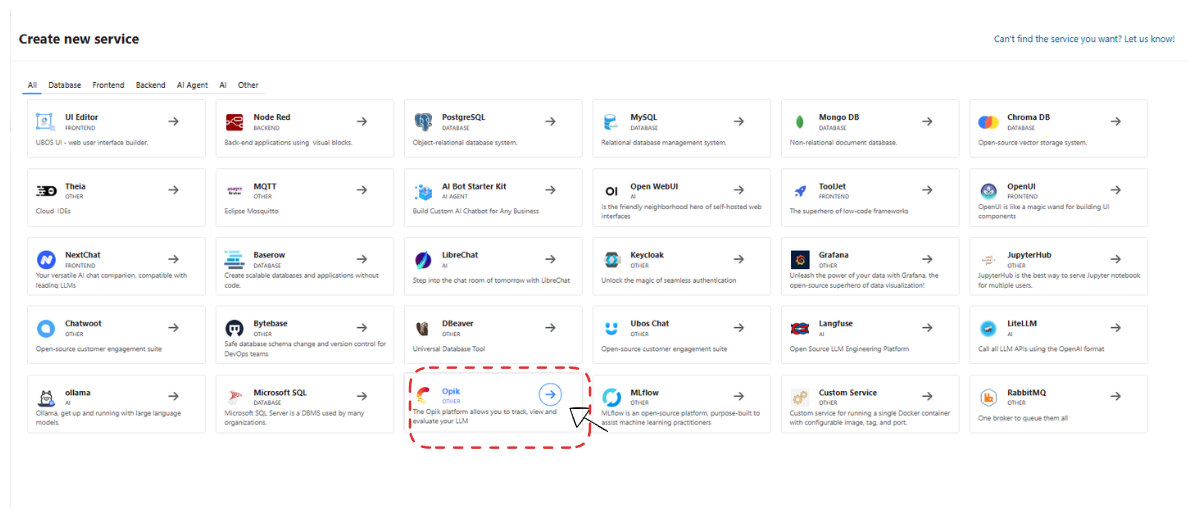
Step 3: Select the service type
From the available options, click on the icon representing the type of service you wish to create.
Step 4: Provide service info
Enter the necessary details for your new service. The information you provide here, specifically the Name, Username, and Password, will be used as the credentials for this service.
These credentials will be essential for two primary purposes:
- API Access: When you or your applications need to interact with the service programmatically via its API, you will use these credentials for authentication.
- Service Login: The username and password you set here will also be used to log in to the service's user interface or dashboard, if applicable.
Important: Please note that the service name cannot be changed after this step, so choose it carefully.
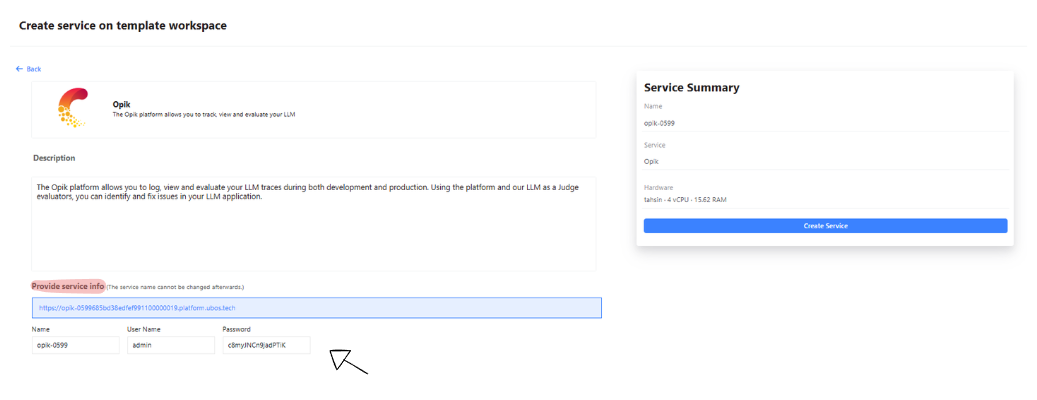
Step 5: Click "Create Service"
Once you have entered all the required information, click the "Create Service" button to proceed.

Step 6: Wait for the service to be created
UBOS AI is now working on setting up your service. The progress will be displayed on the screen.

Step 7: Confirmation of service creation
Once the setup is complete, you will see a confirmation message: “Everything is ready to work.“

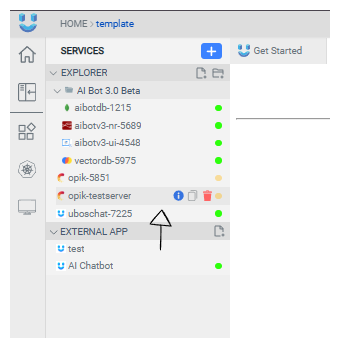
Step 8: Click on the new service
Your new service, for instance "opik-testserver", will now appear in your service list. Click on it to open it.
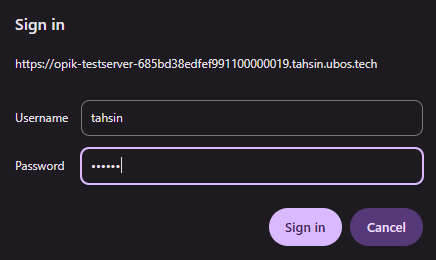
Step 9: You need to write credentials
You are now inside your service's main dashboard. Accessing this area directly (for example, from a new browser session or via an API) would require you to use the Username and Password that you created back in Step 4.
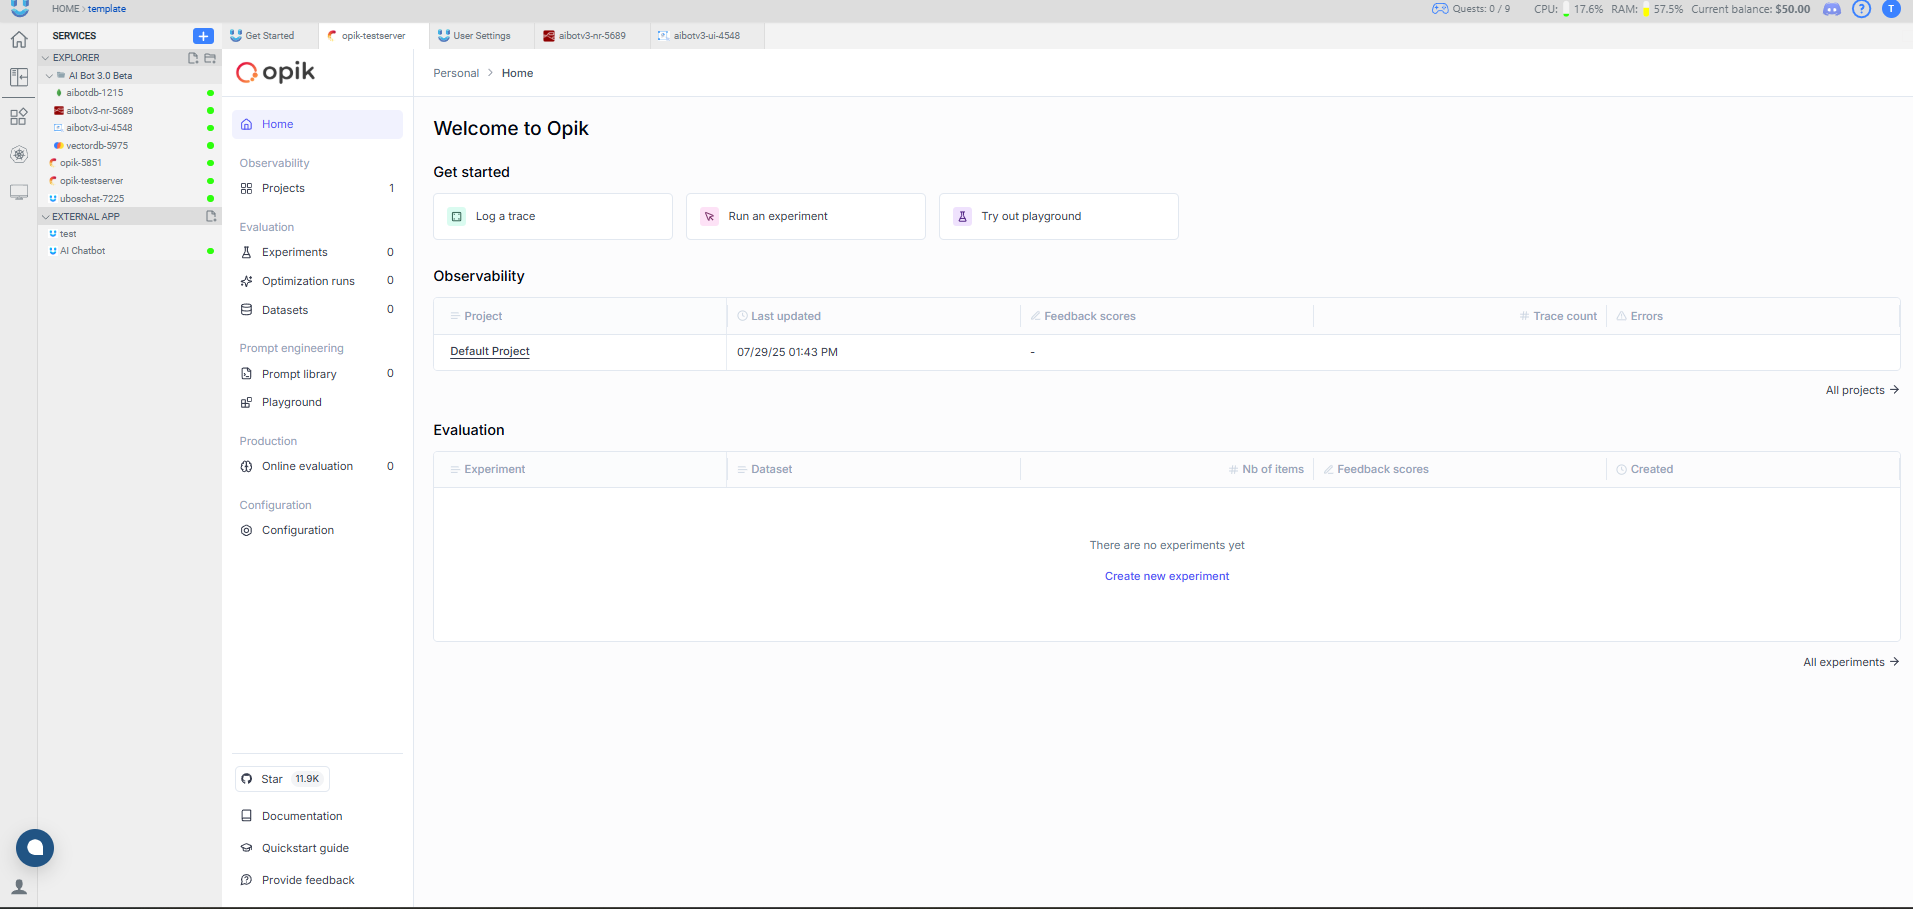
Step 10: Everything is Ready!
You are now on the main dashboard of your new service. You will see a "Welcome to Opik" screen with options to get started, such as "Log a trace," "Run an experiment," or "Try out playground." Your service is now fully provisioned and ready for use.
From here, you can begin to explore the features of your service, configure projects, and manage evaluations. For more detailed tutorials on integrating Opik with Node-RED, refer to the Node-RED Opik API Documentation.
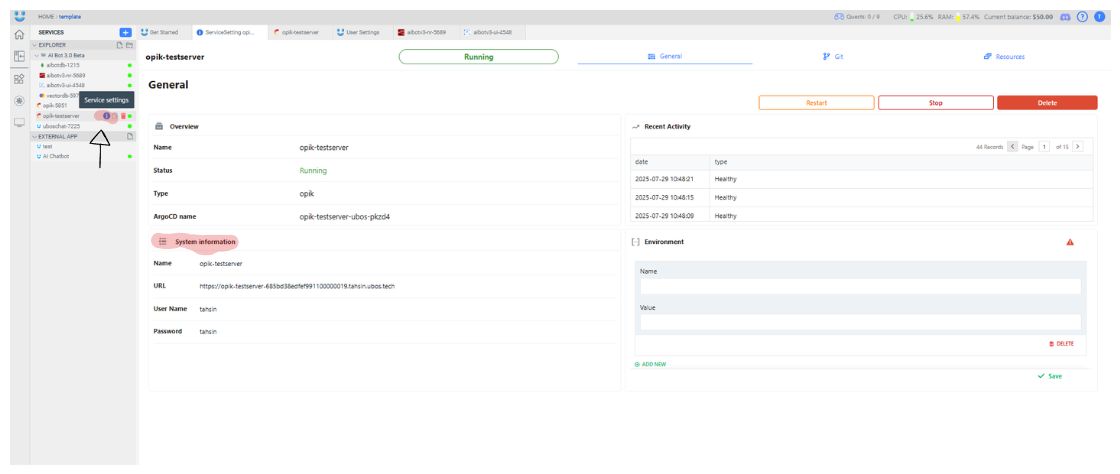
Bonus Step: How to Find Your Credentials and Service URL
If you ever need to find the credentials or the direct URL for your service after it has been created, you can easily do so from the main platform interface.
- From the "SERVICES" list on the left-hand menu, click on the service you want to inspect (e.g., "opik-testserver").
- Next to the service name, click on the "Service settings" button.
- On this page, under the "System Information" section, you will find the URL, User name, and Password for your service. These are the same credentials that you defined in Step 4.