Connecting Your Applications to GitLab
To ensure the safety of your data, protect against potential data loss, and provide universal access to your code, you can connect your applications to Git. In this example, we will use the GitLab web repository.
Prerequisites
Before proceeding, make sure you have the following:
- A GitLab profile.
- Two repositories created in GitLab without a README file: one for Node-RED and another for UI.
Setting Up GitLab
Create Projects in GitLab
In GitLab, create two projects: one for UI and another for Node-RED. Follow these steps:
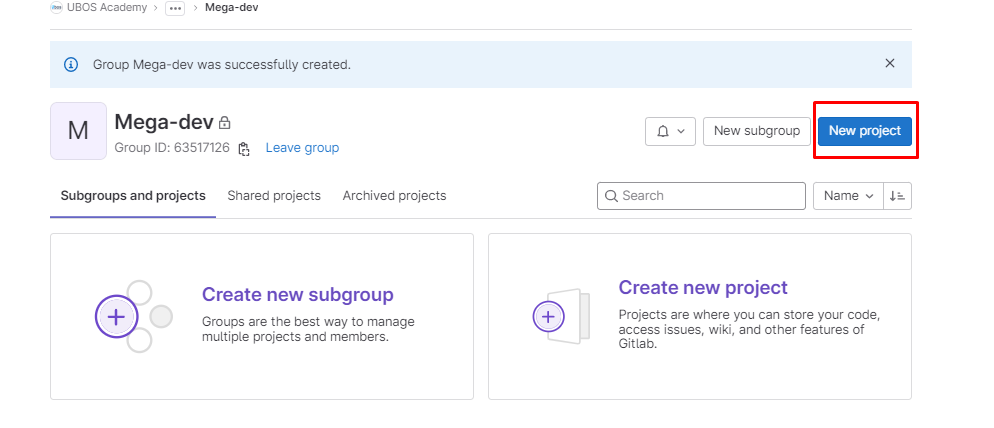
- When you are in a group, click on the "New project" button.
- In the modal window, select "Create blank project."
- In the project settings, enter a name for the project and uncheck the option "Initialize repository with a README" to create it without that file.
- Click "Create project."
It's essential to choose clear and understandable project names that convey their purpose.
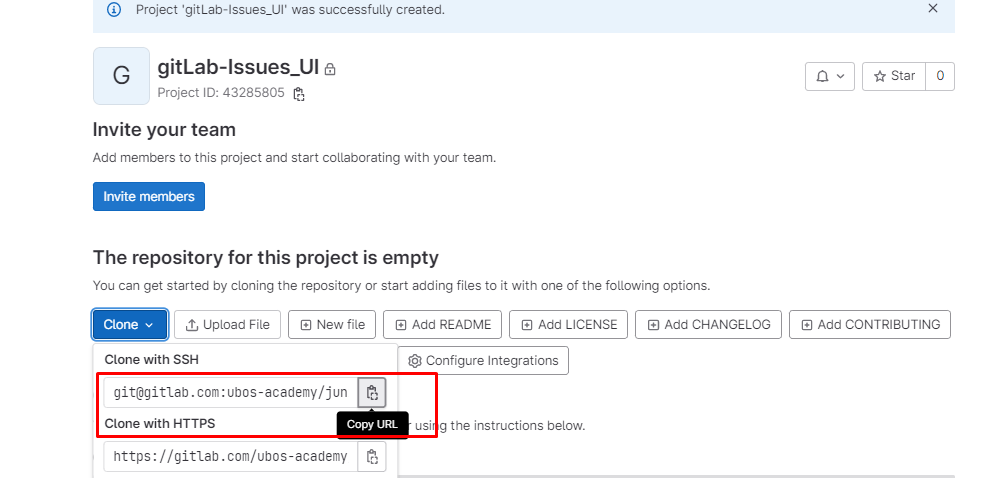
Clone Repository
In GitLab, click on the "Clone" button and copy the SSH clone URL.
Connecting UI Editor to GitLab
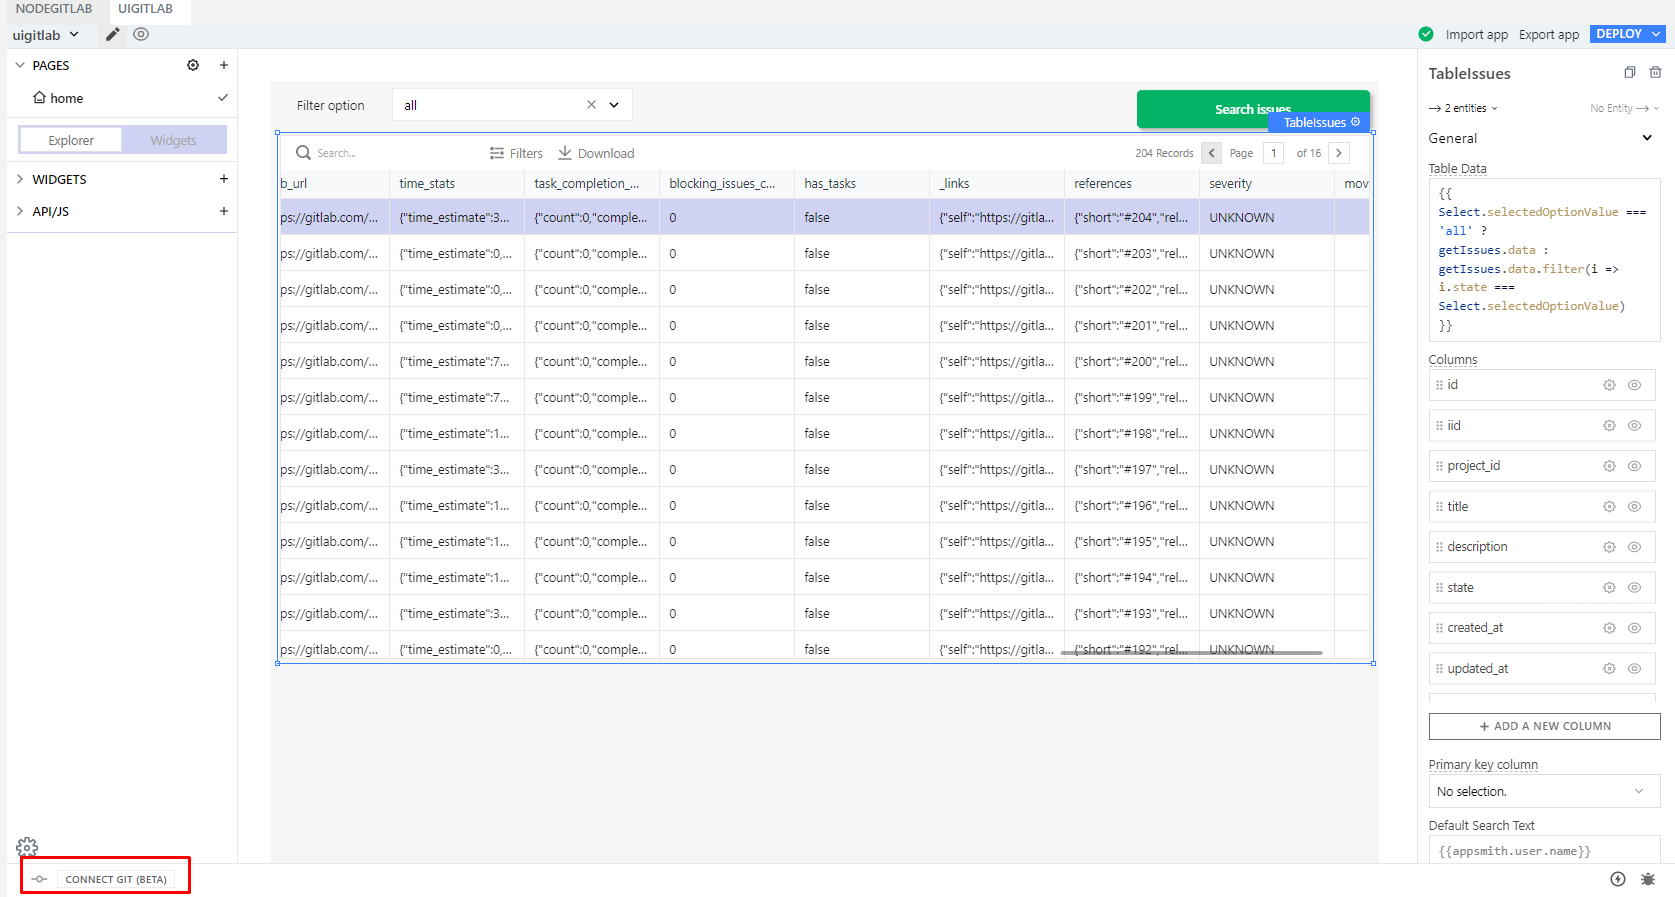
In UI Editor, Connect to GitLab
In the UI Editor, click on the "CONNECT GIT" button located in the bottom left corner.
Generate SSH Key
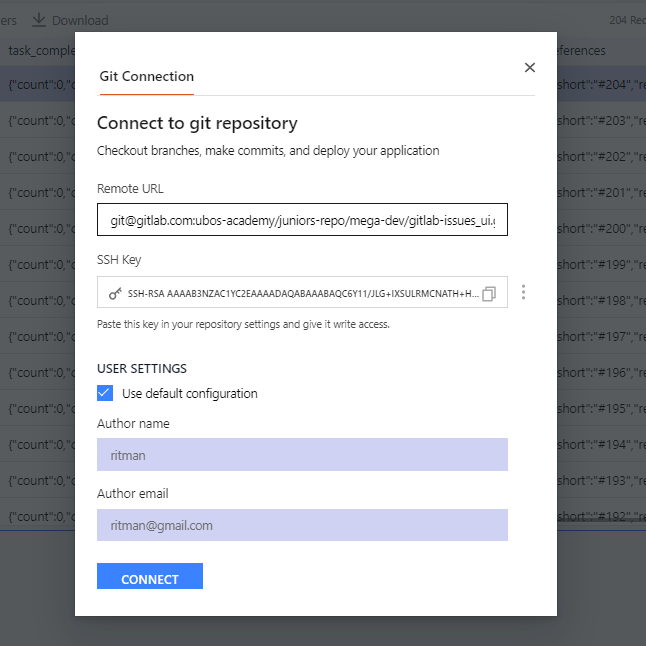
A modal window will open, where you can paste your SSH URL on Remote URL. Then click on the "Generate key" button. Copy the generated SSH key.
Add SSH Key to GitLab
- Go to your GitLab account, click on the icon located in the top right corner, and select "Preferences."
- In the left menu, select the "SSH Keys" field.
- Paste the generated SSH key into the "Key" field.
- Remove the expiration date by clicking on the cross icon in the "Expiration date" field.
- Click on the "Add key" button.

Complete the Connection
Return to UI Editor and click on the "Connect" button. The connection to GitLab is established automatically, and the first commit is made.
Commit and Push
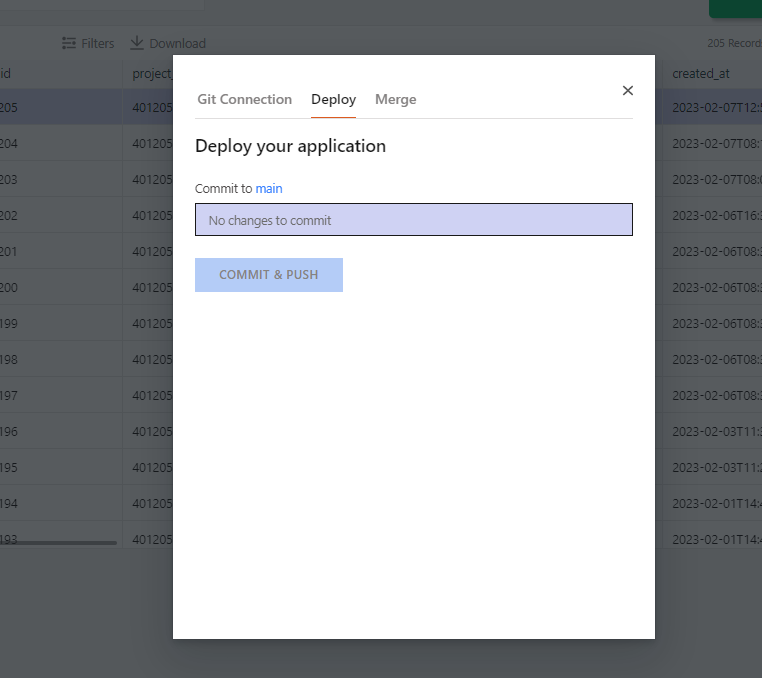
After making any changes, click the plus button at the bottom. In the modal window titled "Deploy your application," enter a name for your commit in the field and click the "COMMIT & PUSH" button.
Connecting Node-RED to GitLab
Create a Node-RED Project
- In the Node-RED interface, click on the three lines icon at the top right corner to open a menu.
- Click on "Projects" and select "New," or use the keyboard shortcut
Ctrl + Alt + Nto open the modal window.

Complete Project Setup
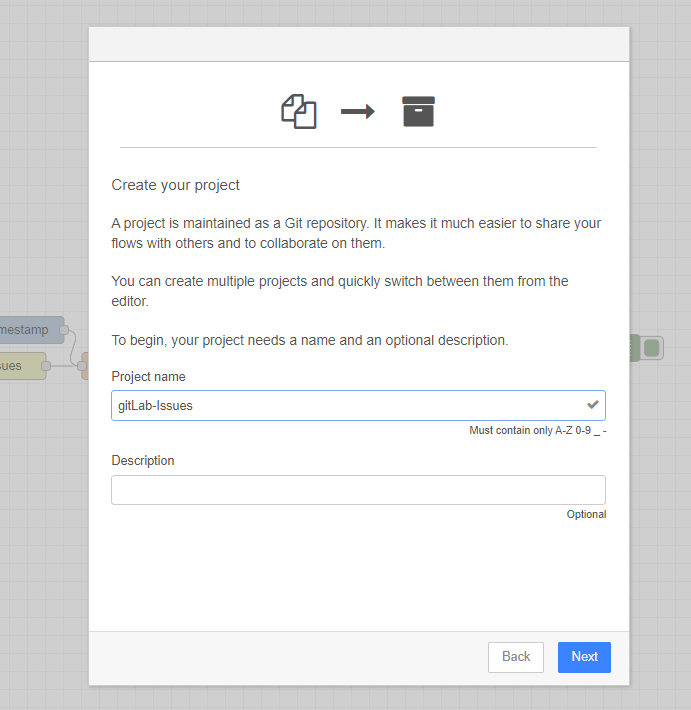
- Choose "Create Project."
- Enter your username, email, and click on the "Next" button.
- Give a name to your project and click "Next."
- Leave the flow file name as-is and click "Next."
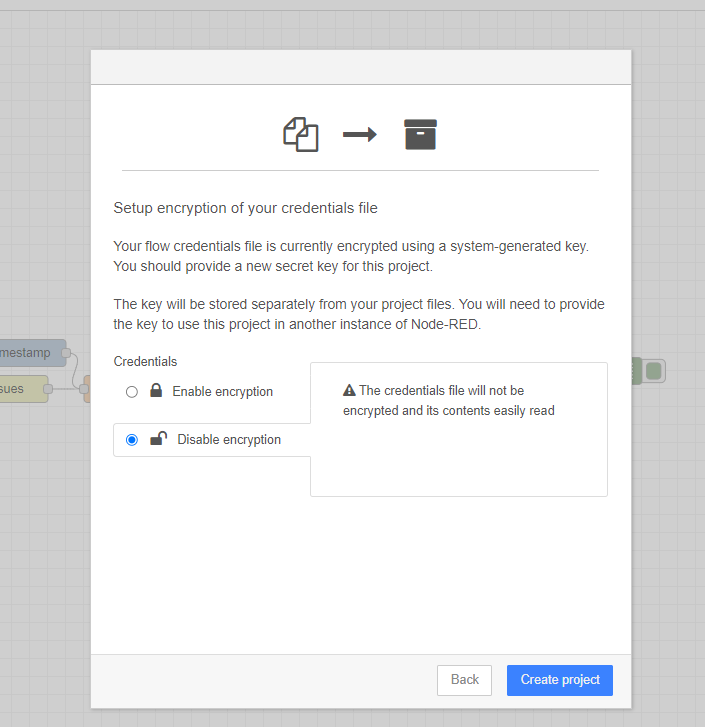
Disable Encryption
- A modal window with encryption settings will open. Choose "Disable encryption" and click on "Create project."
Add GitLab Repository Link
- Create a project in GitLab (refer to the previous steps).
- In Node-RED, click on the three lines icon at the top right corner to open the menu.
- Select "Projects" and then "Project Settings."
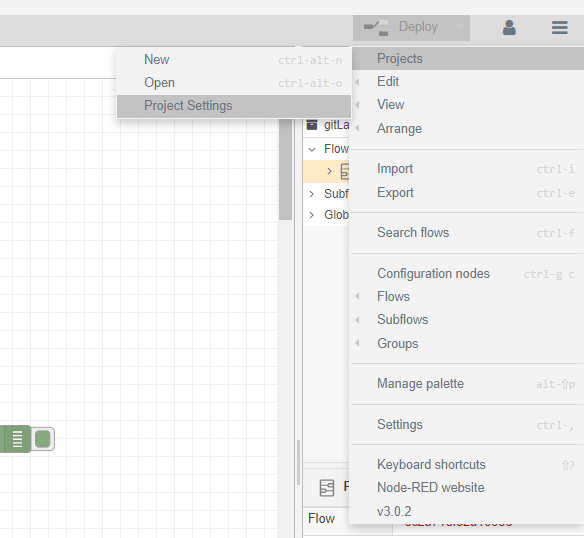
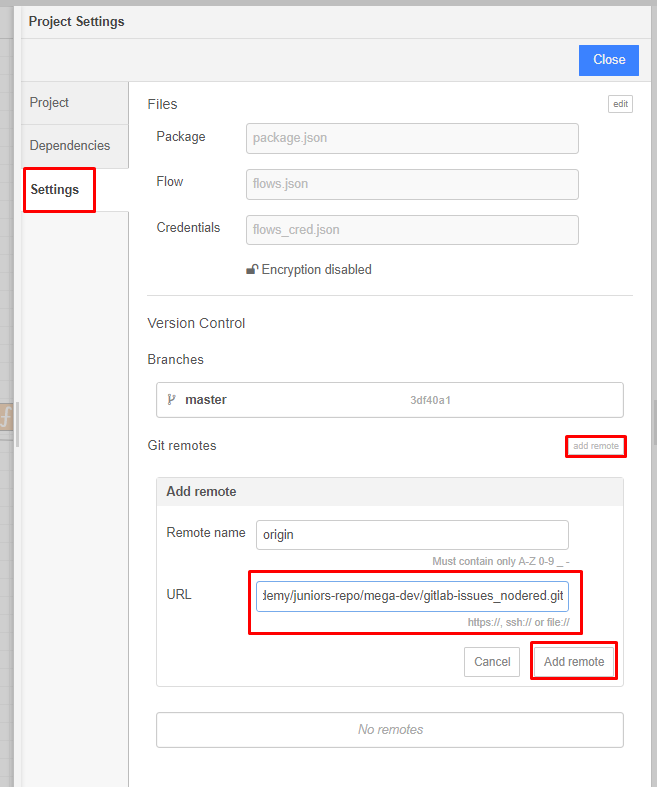
- In the menu, select "Settings."
- Click on the "Add remote" button and paste the HTTPS link of your GitLab project in the URL field.
- Click on the "Add remote" button to connect Node-RED to GitLab.
Commit and Push Changes
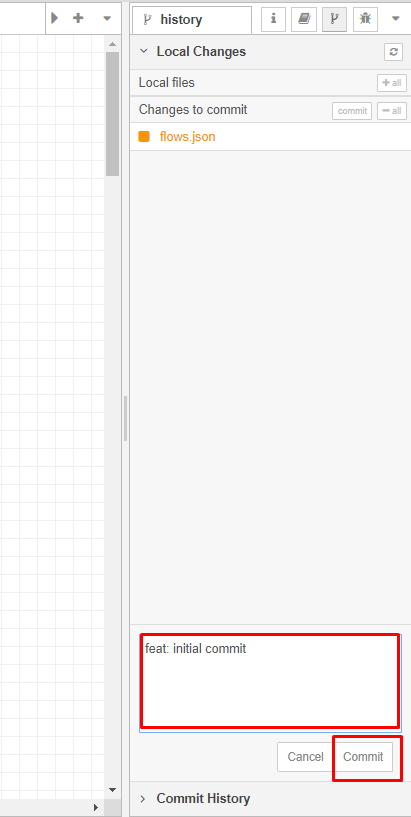
- To save changes in the remote environment, click on the "+add" button in Node-RED.
- Click on "Commit."
- Write the title of your commit and click "Commit."
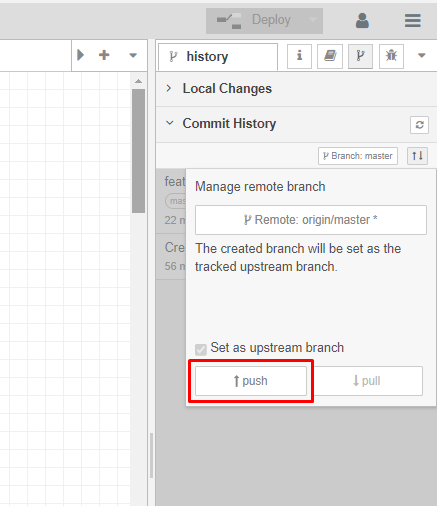
- Click on "Commit History" and then on the button with arrows, selecting "Remote: None."
- Enter your GitLab username or email and corresponding password, then click "Retry."
- Once again, click on the tree button located at the top right between the book and the bug.
- Select "Remote: None."
- If there are no branches, enter any name for the branch and create it.
- Click on the "Push" button to add your data to the GitLab repository.