Remote MCP Server Development Environment
To develop a Remote MCP Server, you'll be using Node-RED, a low-code, flow-based development tool that makes it easy to connect APIs, create workflows, and expose services for AI agents. This section walks you through how to set up your development environment.
🛠️ Development Tool: Node-RED
Node-RED is an open-source programming tool for wiring together hardware devices, APIs, and online services. It’s perfect for creating lightweight, modular MCP servers that can be accessed remotely by AI agents.
Why Node-RED?
- Low-Code Interface: Build your logic visually without writing full backend code.
- Extensibility: Write JavaScript in function nodes when needed.
- Built-in Networking: Easily expose endpoints over HTTP, WebSocket, or TCP.
- Perfect for MCP: Quick to set up, test, and deploy protocol-capable services.
⚙️ Setting Up the Development Environment
You have two main options to use Node-RED for MCP server development:
Option 1: Cloud-Based Node-RED on UBOS (Recommended)
For a production-ready, collaborative, and persistent setup, we recommend launching Node-RED as a service in your UBOS Workspace.
Why use UBOS?
- No local setup required
- Runs in the cloud, accessible from anywhere
- 1-click Node-RED install from the Marketplace
- Persistent storage and public URLs for your MCP server
- Integrated with other open-source tools like MongoDB, Postgres, Jupyter, etc.
Step-by-step:
- Go to https://ubos.tech and create an account.
- Create a Workspace (your personal cloud environment).
- Attach a Server:
- You can connect your own VPS or rent one from UBOS.
- Go to the Marketplace and deploy Node-RED with one click.
- Open Node-RED in your workspace and start building your remote MCP Server!
Once deployed, your Node-RED instance will be accessible via a unique public URL:
https://nodered-1448-67a0b36a978bd0110000014b.bicimoto-agent.ubos.tech
This URL becomes the public endpoint of your Remote MCP Server—ready to receive and respond to AI agent requests over the internet.
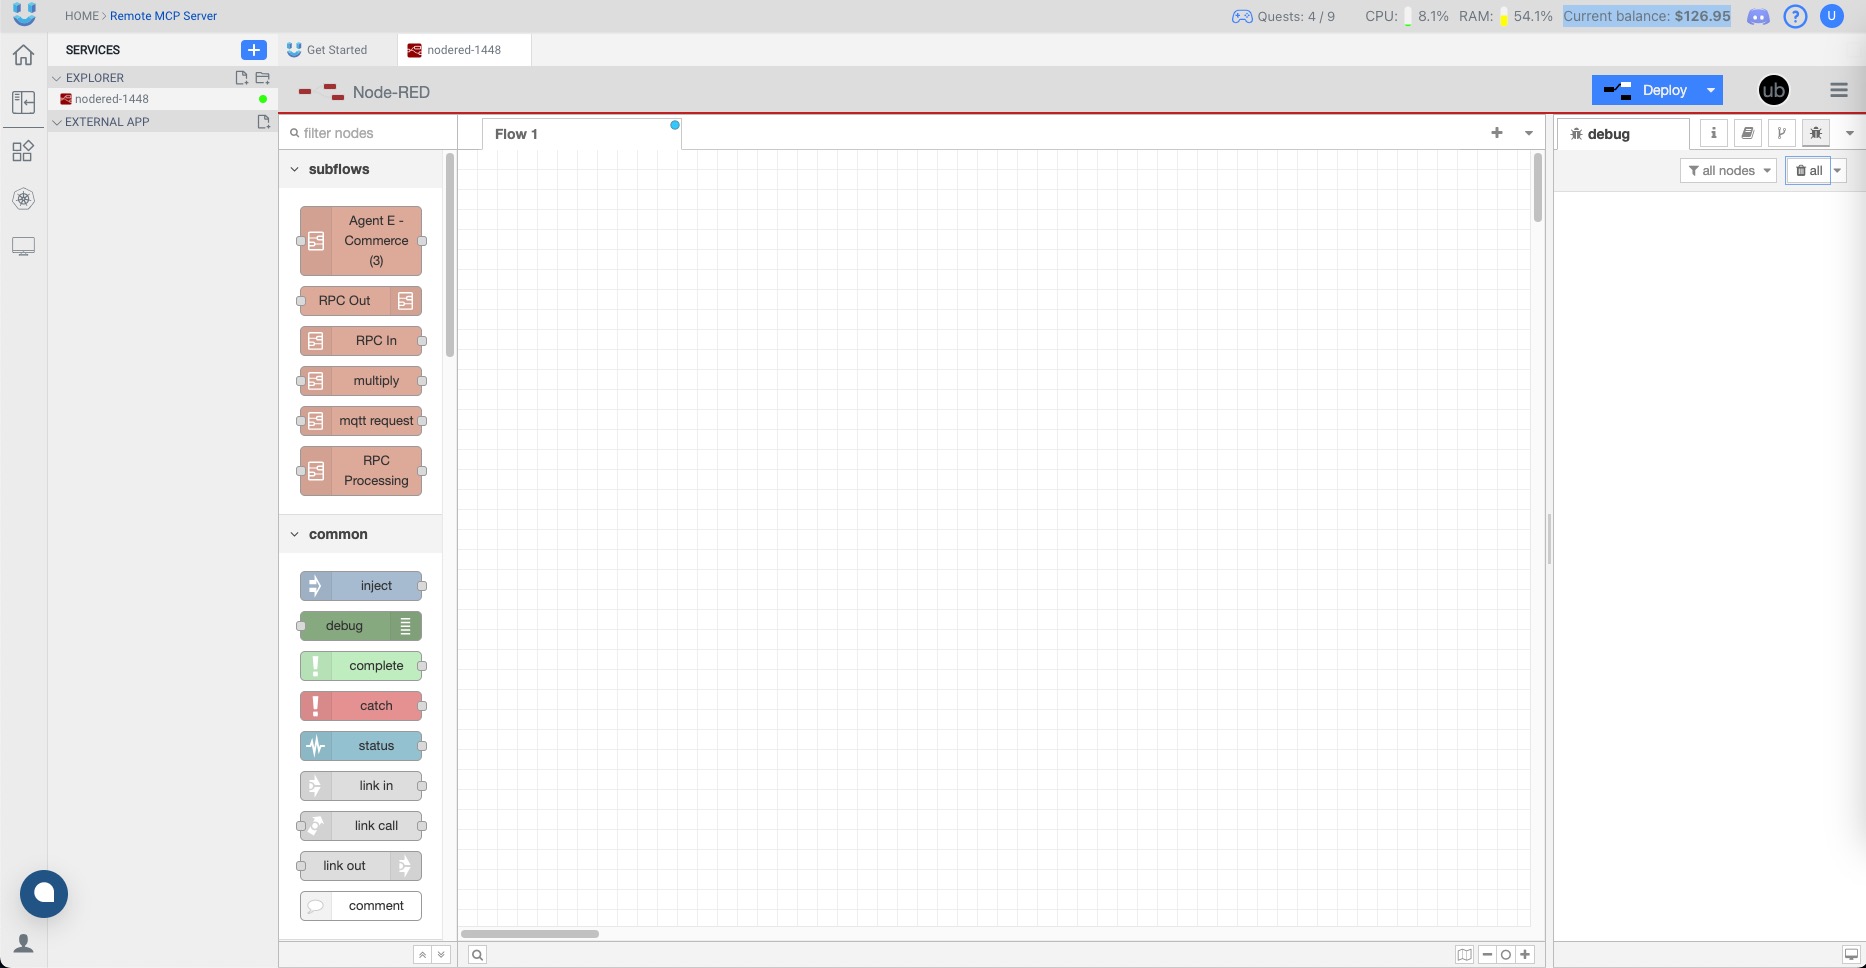
🖼️ UBOS Workspace with Node-RED
The image below shows a typical development environment on UBOS with Node-RED running as a service inside a workspace. Each workspace acts as an isolated cloud development space, where you can attach servers, launch open-source tools from the Marketplace, and manage everything through a user-friendly dashboard.
Option 2: Local Installation
If you're a developer or prefer local environments:
Step-by-step:
- Install Node.js (LTS version recommended) from https://nodejs.org.
- Install Node-RED globally:
npm install -g node-red - Start Node-RED:
node-red - Open the editor in your browser:
http://localhost:1880
This setup is perfect for quick prototyping and full control over your machine.
With your Node-RED environment ready—either locally or in the cloud—you’re now set to begin creating your first MCP-compatible server. In the next section, we’ll guide you through building the core MCP flow that listens for commands and responds accordingly.