How to Create an Agent from Template
Welcome to your step-by-step guide for creating a new agent in Agentspace using a template. This process is designed to be simple, visual, and efficient—perfect for both beginners and experienced users.
Prerequisites
- Access to agentspace.ubos.tech
- (Optional) A naming convention and short description for your agent
Step 1: Access Agentspace
Open your browser and go to agentspace.ubos.tech.
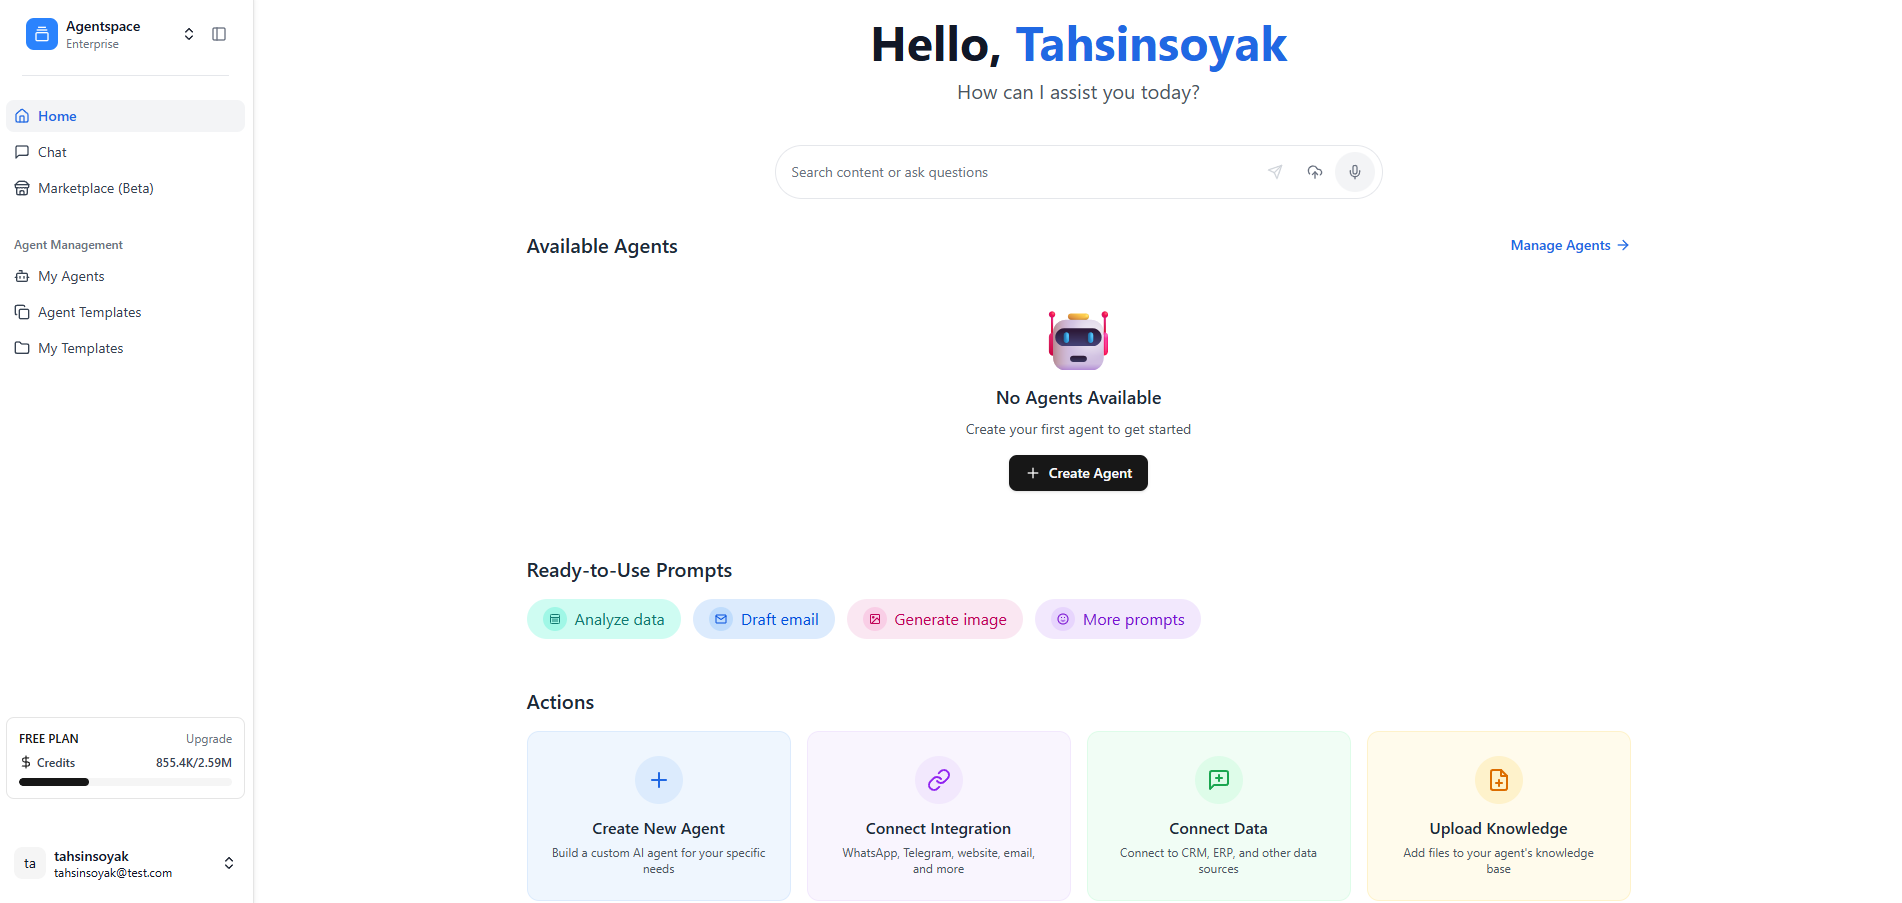
Step 2: Go to "My Agents"
In the top navigation or sidebar, select My Agents to view your agent dashboard.
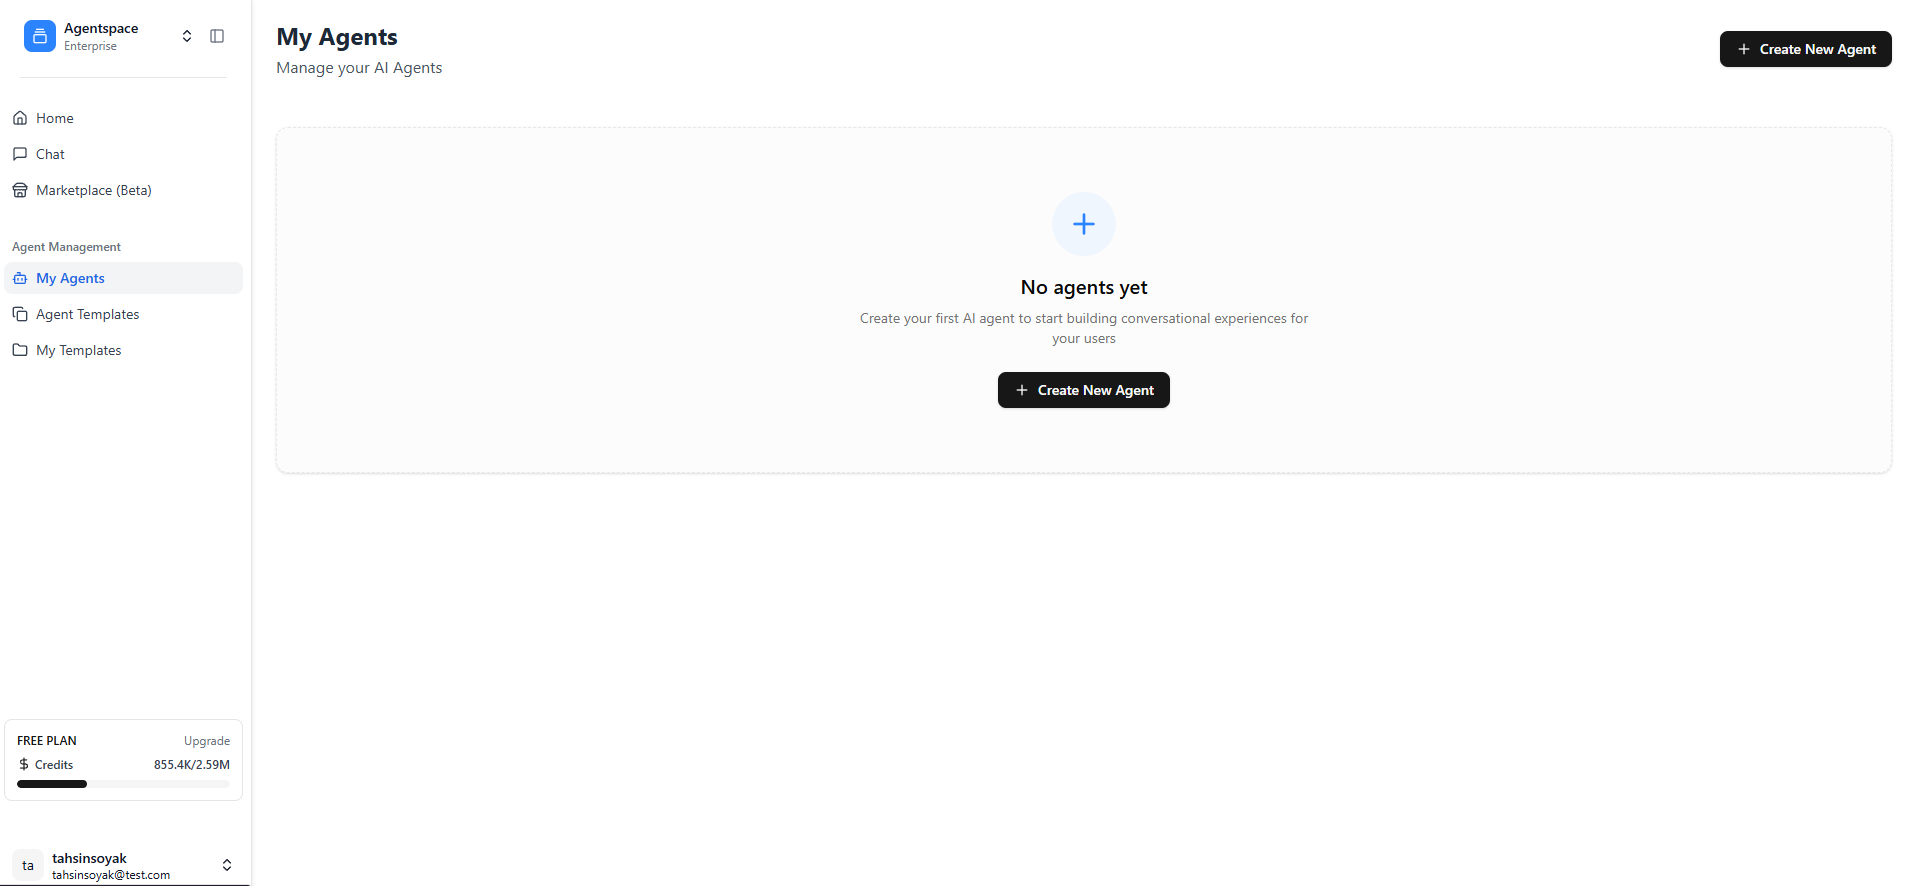
Step 3: Start Creating a New Agent
Click the Create New Agent button to begin the agent creation process.
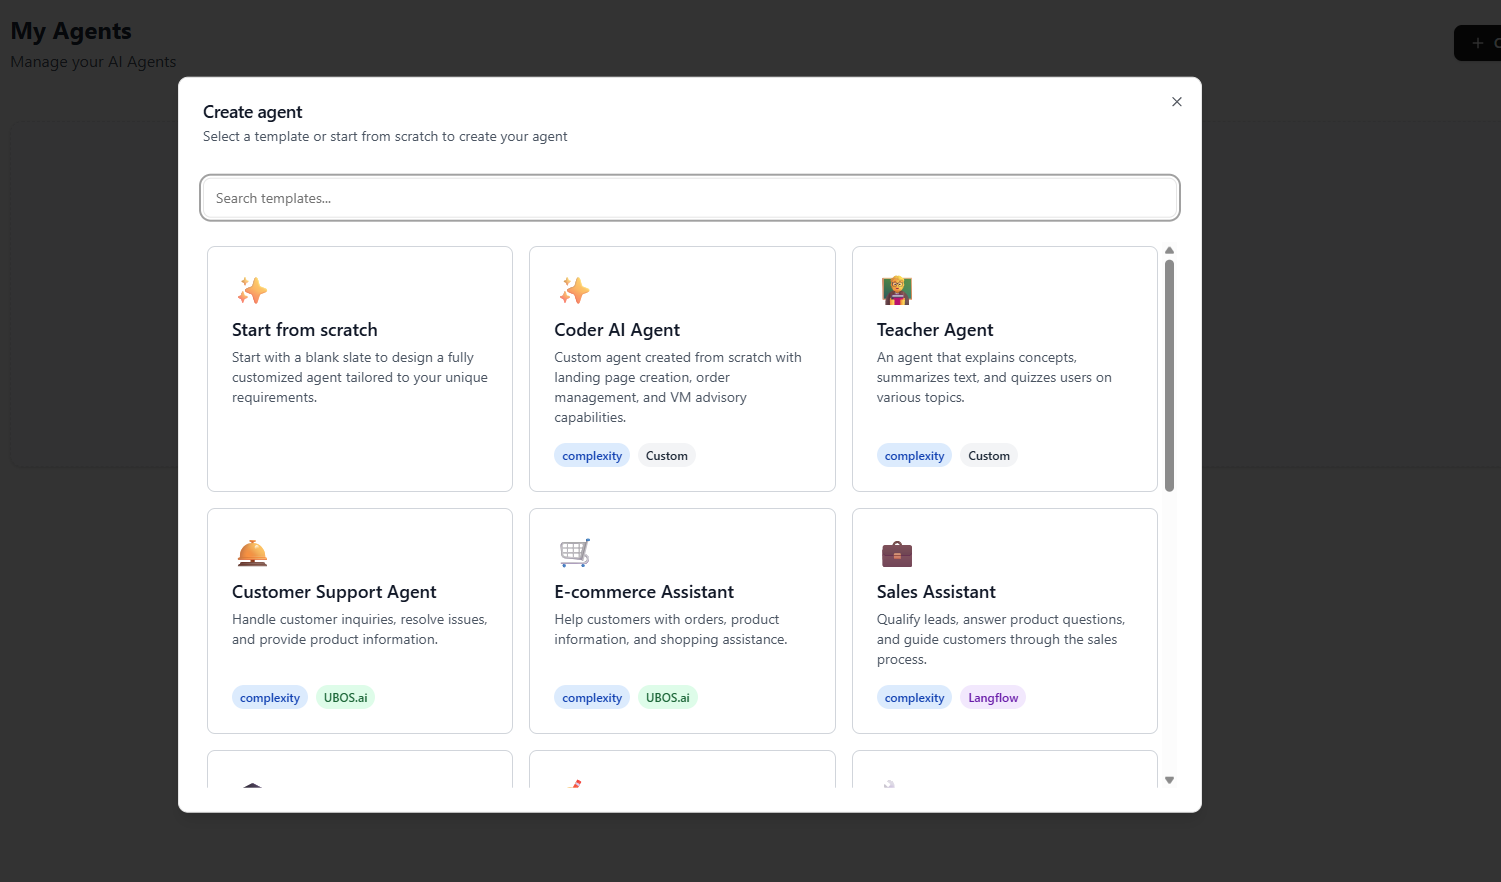
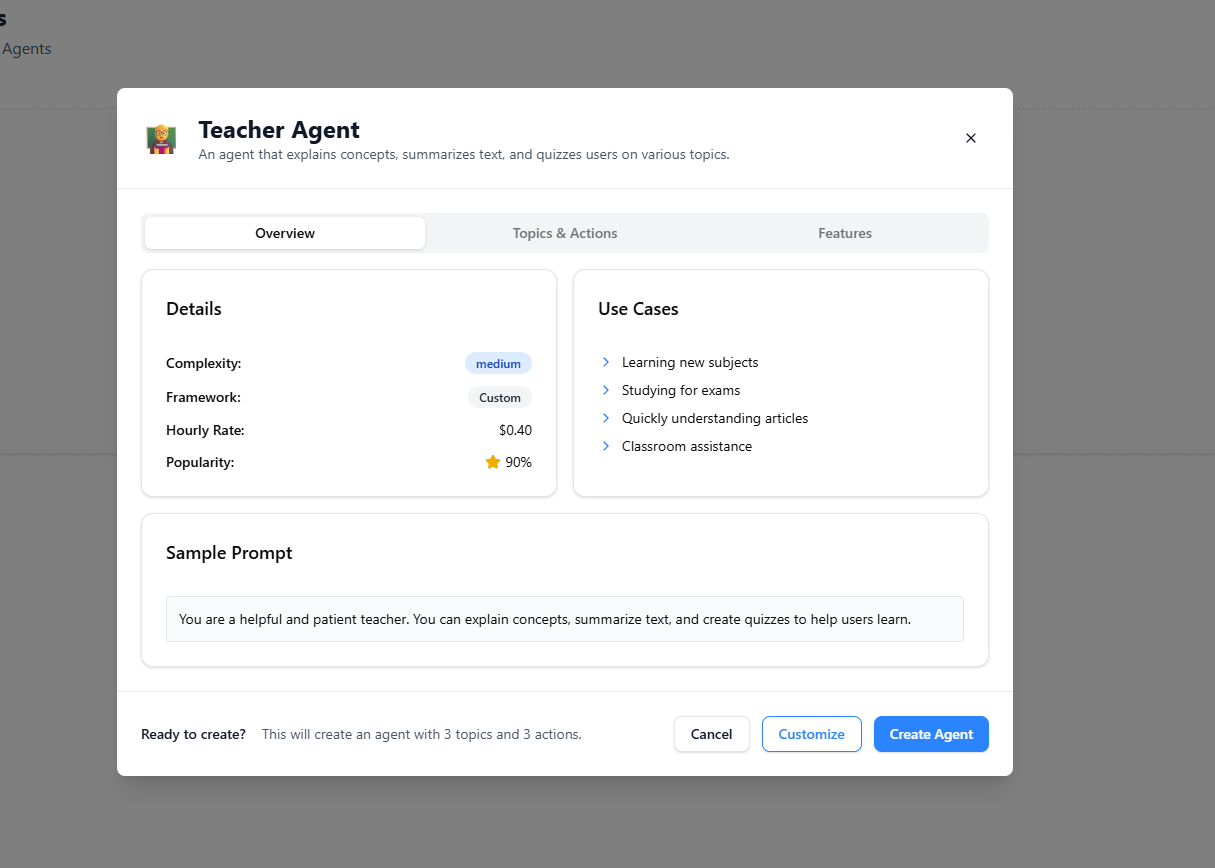
Step 4: Choose a Template & Configure
Browse the available templates and select the one that best fits your needs (for example, the Teacher Agent template).
You will be prompted to enter details such as the agent's name, description, tags, or initial settings. Fill in the required information.
Click Create Agent to finalize your selection.
Step 5: Open the Chat Interface
Once your agent is created, locate it in your agent list and click Show Chat (or Open Chat) to launch the chat interface.

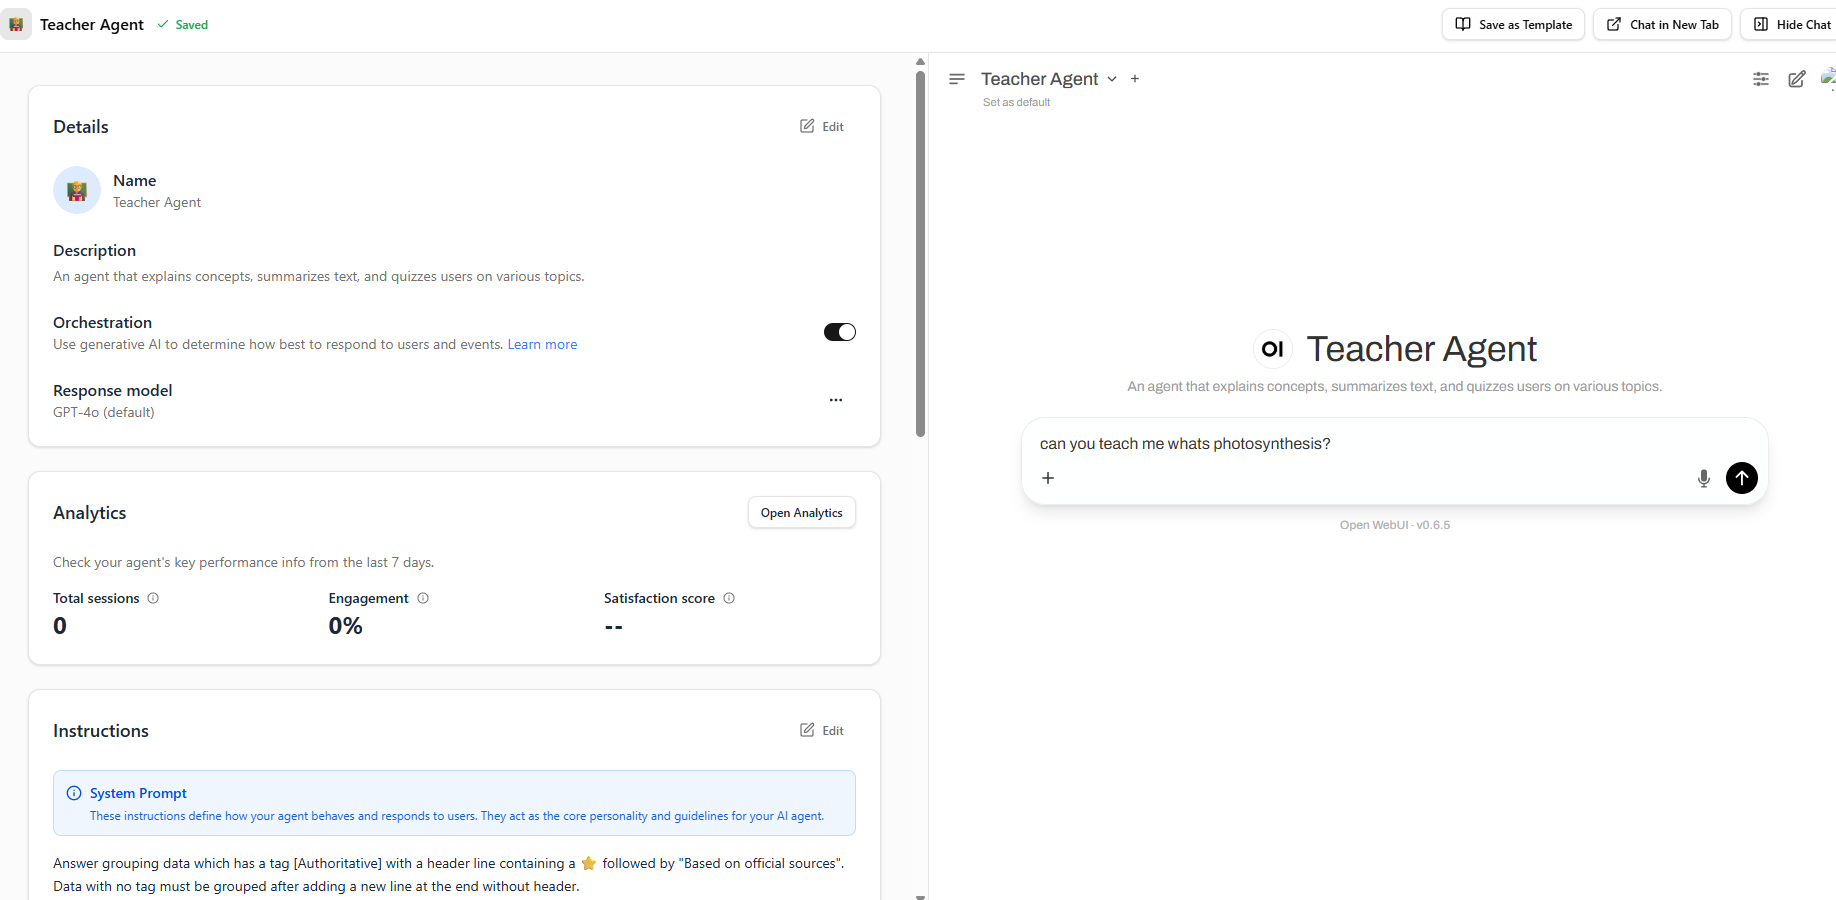
Step 6: Interact with Your Agent
Send a message (for example, “Hello, Agent!”) to test your new agent. The agent will respond according to the template’s configuration.
Congratulations! You have successfully created and tested a new agent using a template in Agentspace. You can now further customize your agent or create more as needed.